Micro Frontends - A Complete Guide
Micro Frontends is a concept of breaking huge frontend applications into smaller and manageable pieces.
What is it & Why Micro Frontends?Anchor
Micro Frontends is a concept of breaking huge frontend applications into smaller and manageable pieces that individual teams can build and maintain. If you understand microservices for the backend, it is similar, just applied to the frontend. Let’s go over the concept first.
To explain the frontend microservices, we first have to define the monolith. In a monolith system, everything resides in one repository and all the developers work on the same code base. For every single change, the entire app needs to be built, tested & shipped as a whole. In a lot of cases, this approach is fine, it works if you do it right and a lot of systems use it efficiently. However, as the software scales, there might be a need for a more efficient solution and a full rewrite might seem tempting.
In the early stages of building monoliths, it's likely for developers to unintentionally introduce high couplings where they otherwise wouldn’t exist, and when the project scales, the team size increases, many issues may arise. It becomes difficult to upgrade the dependencies due to a big codebase with huge impacts, a lot of time would be spent in coordination between developers, testing and deployments become slower, individual changes cannot be shipped, slowing down the pace of the team bringing value to the clients.
However, with microservices or micro frontends, codebase, teams, and responsibilities are split vertically in a way that the coupling between them is very low. Each team owns a smaller codebase, and can individually test, deploy and scale according to the needs. Now the teams only need to coordinate for the moving parts, which can be kept minimal with a good system design. The teams can easily manage their dependencies and even use a separate tech stack.
Let's back it up with a backend example so that everything fits right in!
Consider a very general backend monolith that contains all the core product APIs, all the code to generate pdfs, manage image resizing & uploads, sends notifications from a job queue, and a common database. These kinds of codebases cause the issues mentioned earlier.
Instead, if we break down all these services into different backend apps altogether, each deployed and maintained by individual teams, it's going to be much easier and faster to develop, maintain and ship even as the app scales. For example, for a team that works on and maintains the code to generate PDFs, the only thing the other teams need to know is the API contract. The core product might be written in Node, the PDF team can choose Python and a separate database even and it would be just fine. If with time, the demand for generating PDFs increases, we can scale only the PDF service horizontally instead of scaling the entire backend app in case of a monolith. Lastly, if you start looking properly you will definitely be able to form boundaries and split the core product APIs even into separate services and databases.
This concept of splitting up a monolith has already proven to be a great success in the backend and is picking up pace for frontend apps as well.
Advantages Of Micro FrontendsAnchor
Incremental upgradesAnchor
With a frontend monolith that’s armored with an outdated tech stack, developers are generally under the notion, If it works, don’t touch it. They need to make upgrades, but it’s a bit scary as the scope and impact are too wide. So either the upgrades happen with careful planning and a lot of work or they’re delayed till a point of absolute necessity. Micro frontends divide the scope of a single monolith, which in turn allows teams to easily make their upgrades as and when they see fit.
Simple, decoupled codebasesAnchor
A monolith has a lot of code that keeps on increasing with time. On the contrary, the source code for micro frontends would be much smaller, which is a big relief. Additionally, devs would have less clutter on the screen every time they open up their project. Also, just like microservices, micro frontends would lead us to create proper boundaries between apps and in the process force us to avoid all couplings which might unintentionally exist in monoliths.
Independent deploymentAnchor
Similar to incremental upgrades advantage, micro frontends also reduce the scope of deployments. All decoupled codebases should have their own CI/CD pipelines, the teams can individually decide if their app is ready to go in production and if it is, no issues from other apps would affect it. Also, with monoliths, for a small change or fix in some part of the app, you need to bundle all the code and ship it. Monoliths have long-running build & test phases in pipelines, but with a micro-frontend, you would simply have to ship just that app where the fix is needed.
Independent teamsAnchor
Since we have decoupled codebases and independent deployments, the teams can own that app end-to-end. The teams can have full ownership of their deliverables. Just a side note, in many projects with monoliths, the frontend team tends to structure by a technical expertise filter.For instance, one team will handle all the layout & markup-related work, one will handle all the logic-related work, and one will do the CSS detailing & animations. This setting might not work, in micro frontends, each team needs to have all developers of Layout, Logic, CSS detailing capabilities.
Disadvantages of Micro FrontendsAnchor
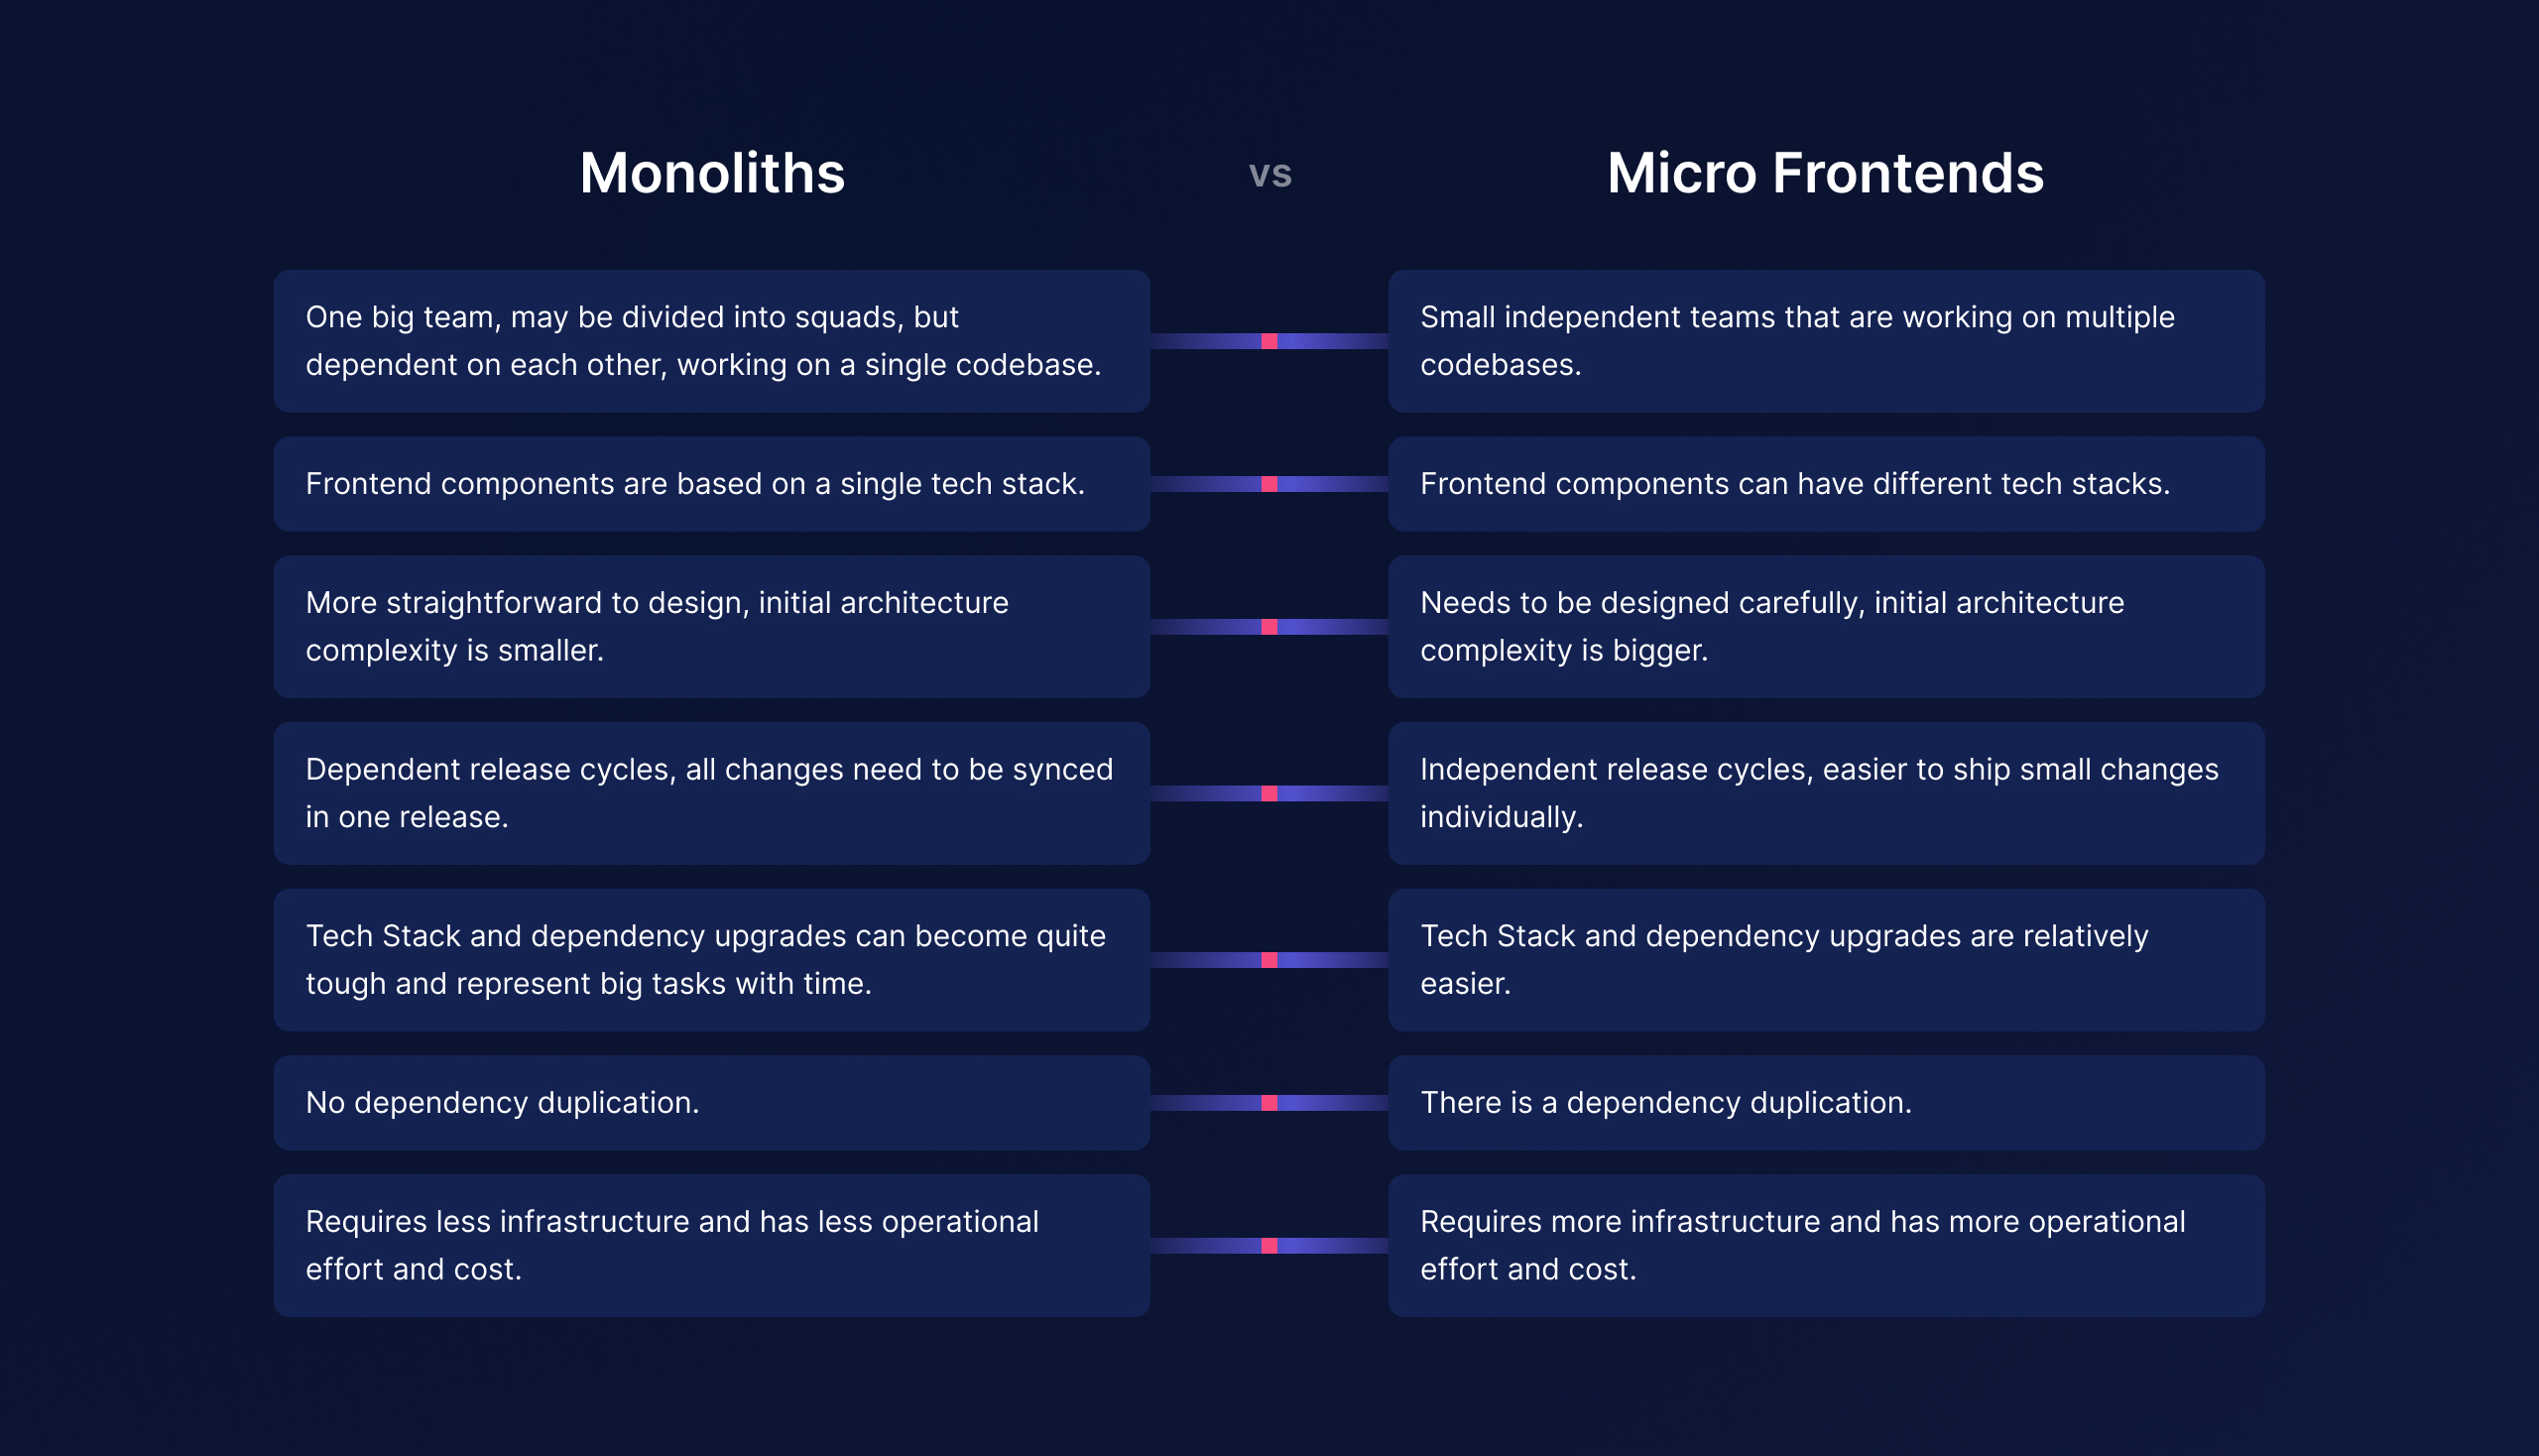
In Software Engineering, tradeoffs are inevitable and everything has a price. You get the above benefits with micro frontends, but there are some drawbacks as well. You need a good architect to design a micro frontend architecture because design mistakes in early architecture can prove to be costly. With micro frontends, the operational cost and effort will increase, there will be more infrastructure requirements, more ci/cd pipelines, more domains, etc, compared to monoliths. Finally, there will be dependency duplication across different micro frontends. The user experience might suffer if the development team is not managing the dependencies wisely, as the end-user will have to download more data via network calls.
Quick RecapAnchor
How Do Micro Frontends Work?Anchor
There are many approaches that you might stumble across to implementing micro frontends, I’ll elaborate on the most common one that works and is used by many teams.
Most frontends look something like this, wherein there is some common container with a header/footer/sidebar combination and changing content in between with layers of complexity. We can implement the container as one micro frontend app, and the rest of the content pages can be individual micro frontend apps in themselves.
Let’s look at the dependencies in package.json of the container app:
{"name": "@portfolio/container","dependencies": {"@portfolio/experience":"1.0.0","@portfolio/skills":"1.0.0","@portfolio/contact":"1.0.0",...}}
Here we make a package out of each page, publish it, and then include it in the base app and use it. If the experience app needs to reuse some component of the skills page, then it can include skills in its package.json, the coupling can be managed via an API contract.
Well, this is a common misconception for many developers and is not the micro frontend approach. Let's say your skills app 1.0.0 is in use by the container and the experience app. It undergoes an upgrade and a 2.0.0 version is now published. However, you’ve built and deployed the experience app and the container app already with the skills 1.0.0 version. In order to use the 2.0.0 skills app, you’ll need to upgrade the skill package version in both experience and container apps, build and redeploy both apps. This defeats the purpose of micro frontends being individually deployable. We should not be integrating the pieces at build time but at run time.
Implementing Micro Frontends & Best PracticesAnchor
As mentioned earlier, the core technique to implement micro frontends is that we build & deploy everything separately and at run time we pull in the other components to use. At a very high level, it's like making a network call to get the component at the runtime via Javascript, and then using it. If we can pull in the actual skill component javascript itself from some server via a network call, it can give us the latest copy, unlike a package that has already been bundled. To implement this from scratch might seem a bit complicated, Module Federation simplifies building micro frontends. So let us get our hands dirty, build an example app and see a practical implementation of the concepts we talked about!
Awesome Doctors!Anchor
If you stumble somewhere along the path, the final working code is here. We’ll make a small frontend app that shows a list of doctors and if you click on one of them it redirects you to a doctor’s profile. The aim here is to understand how micro frontends work in practice and form a decent base upon which you can build further.
Move to a fresh folder and let's call it the root folder.
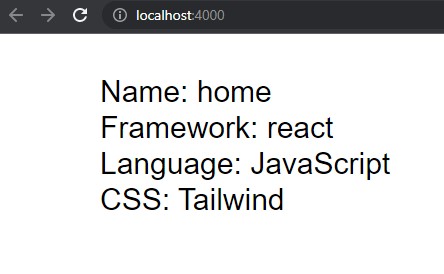
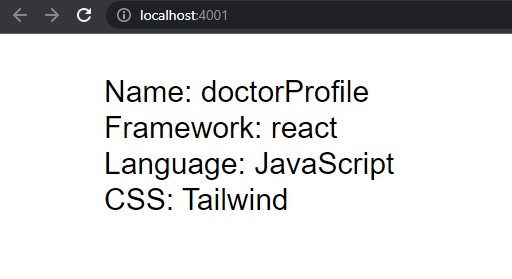
We have a nice utility to use module federation, so type npx create-mf-app The CLI will ask you a few questions regarding your framework choice and then set up a boilerplate, name this first app home. Open another terminal in the same root folder and create one more app with npx create-mf-app and name it doctorProfile. Start this app on a different port. I’ll be using React with Tailwind and running the apps on ports 4000, 4001 respectively. Go to both folders individually, install all packages and also install react-router-dom and then do a yarn start.
Note: It’s possible after the yarn install, the apps might give you an error regarding a memfs package, just install it as well.
So now we have two different apps, running on different ports. Let's move forward and do all the basic stuff in individual apps.
Home AppAnchor
We will need some data to work with, for simplicity we’ll create a dummy file to act as our API
src/service/doctorService.js
const doctorList = [{id: 0,name: "John Doe",fees: "100$",speciality: "Physician"},{id: 1,name: "Mary Jane",fees: "150$",speciality: "ENT, Dermatologist"}, {id: 2,name: "Jane Doe",fees: "200$",speciality: "Pulmonologist"}]export const getDoctors = () => {return doctorList}
We’ll create some super simple components.
src/components/Header.jsx
import React from 'react'import { Link } from 'react-router-dom';function Header() {return (<div className="p-4 bg-gray-900 text-white flex justify-between items-center"><Link to="/"><span className="text-2xl font-bold" >Awesome Doctors</span></Link></div>);}export default Header;
src/components/Footer.jsx
import React from 'react'function Footer() {return (<div className="p-4 bg-gray-900 text-white text-sm">All Rights Reserved.</div>);}export default Footer;
src/components/DoctorList.jsx
import React, { useState, useEffect } from 'react';import { getDoctors } from '../service/doctorService';const DoctorList = () => {const [doctorList, setDoctorList] = useState([])useEffect(() => {setDoctorList(getDoctors())}, []);return (<div className="flex flex-col flex-1 items-center justify-center">{doctorList?.length > 0 ?doctorList.map((doctor) => {return (<div className="w-2/5 flex flex-col mb-4" key={doctor.id}><divclassName="bg-gray-800 rounded-lg p-5 mb-1 cursor-pointerhover:shadow-lg transition-all"><div className="uppercase text-base text-white"> {doctor.name} </div><div className="flex justify-between"><div className="text-sm text-gray-400 "> {doctor.speciality} </div><div className="font-bold text-gray-200"> {doctor.fees} </div></div></div></div>)}) : <div className="text-white"> Loading... </div>}</div>);}export default DoctorList;
src/App.jsx
import React from "react";import ReactDOM from "react-dom";import Header from './components/Header'import Footer from './components/Footer'import DoctorList from "./components/DoctorList";import { BrowserRouter, Route, Routes } from 'react-router-dom';import "./index.scss";const App = () => (<BrowserRouter><div className="h-screen flex flex-col bg-gray-50"><Header /><div className="my-8 flex-1 flex"><Routes><Route path="/" exact element={<DoctorList />} /></Routes></div><Footer /></div></BrowserRouter>);ReactDOM.render(<App />, document.getElementById("app"));
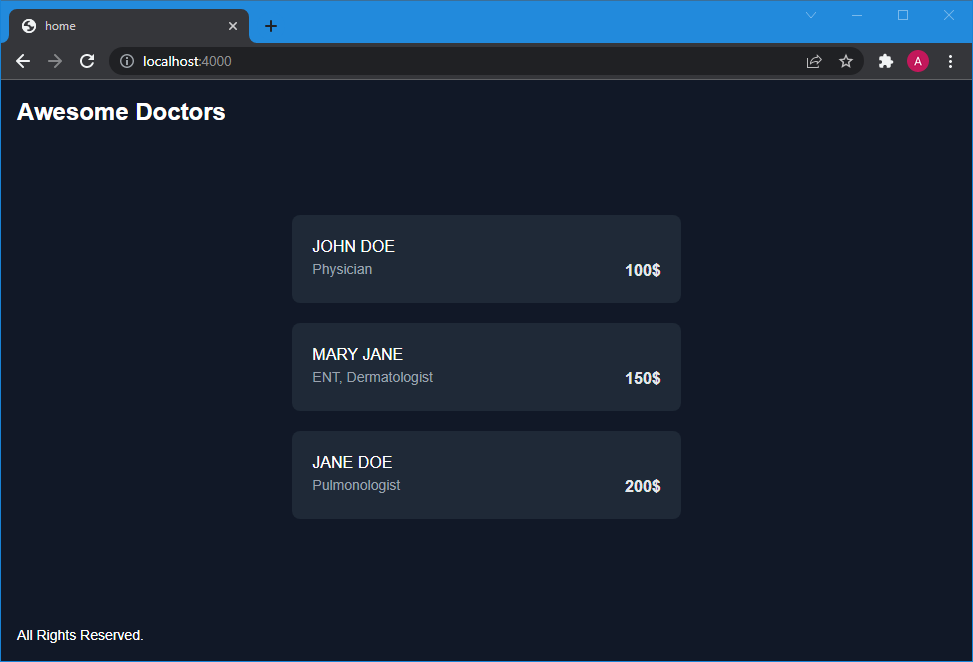
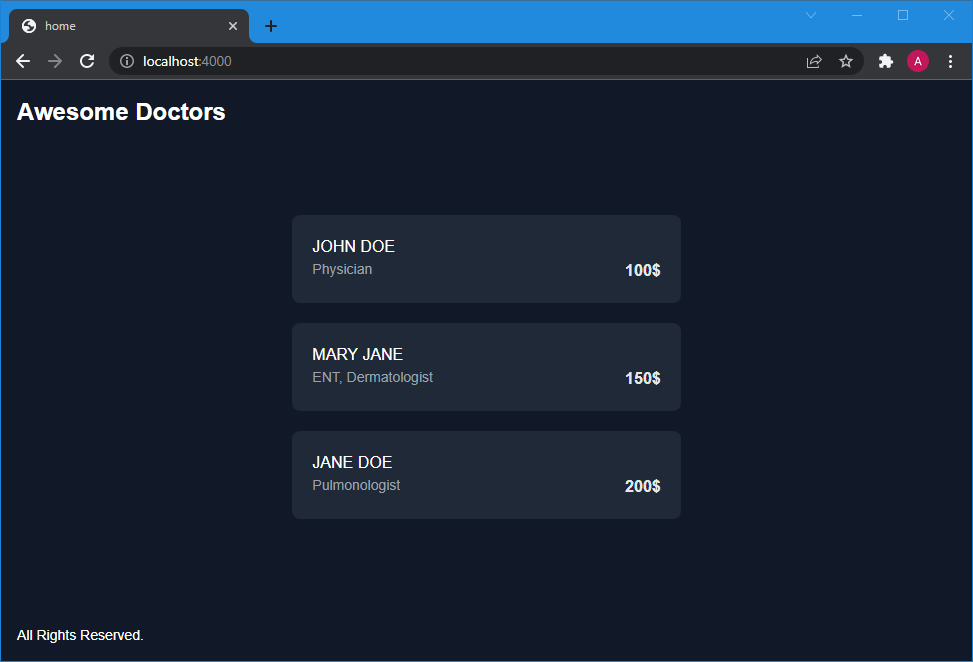
Check the browser, you should see a nice doctorList page!
Cool! Our first app is ready! Now let’s go ahead and set up our other app.
DoctorProfile AppAnchor
Note: These service files are for simplicity and to reduce the scope of this example, In a real app the requests will be made to an API server which will get consistent data from DB.
src/service/doctorService.js
Add the same array here we did in the Home app and replace the function with:
export const getDoctorById = (id) => {return doctorList[id]}
src/components/DoctorProfile.jsx
import React, { useState, useEffect } from 'react';import { getDoctorById } from '../service/doctorService';import { useParams } from 'react-router-dom';const DoctorProfile = () => {const [doctor, setDoctor] = useState(null)const { id: doctorId } = useParams()useEffect(() => {setDoctor(getDoctorById(doctorId))}, []);return (<div>{doctor ?<div className="bg-gray-800 rounded-lg w-96 h-96 flex flex-col items-center justify-center"><div className="uppercase text-xl text-white"> {doctor.name} </div><div className="text-sm text-gray-400 "> {doctor.speciality} </div><div className="font-bold text-gray-300"> {doctor.fees} </div></div>: <div className="text-white"> Loading ... </div>}</div>);}export default DoctorProfile;
src/App.jsx
import React from "react";import ReactDOM from "react-dom";import DoctorProfile from './components/DoctorProfile'import { BrowserRouter, Routes, Route } from 'react-router-dom';import "./index.scss";const App = () => (<BrowserRouter><Routes><Route path="/doctor/:id" element={<DoctorProfile />}></Route></Routes></BrowserRouter>);ReactDOM.render(<App />, document.getElementById("app"));
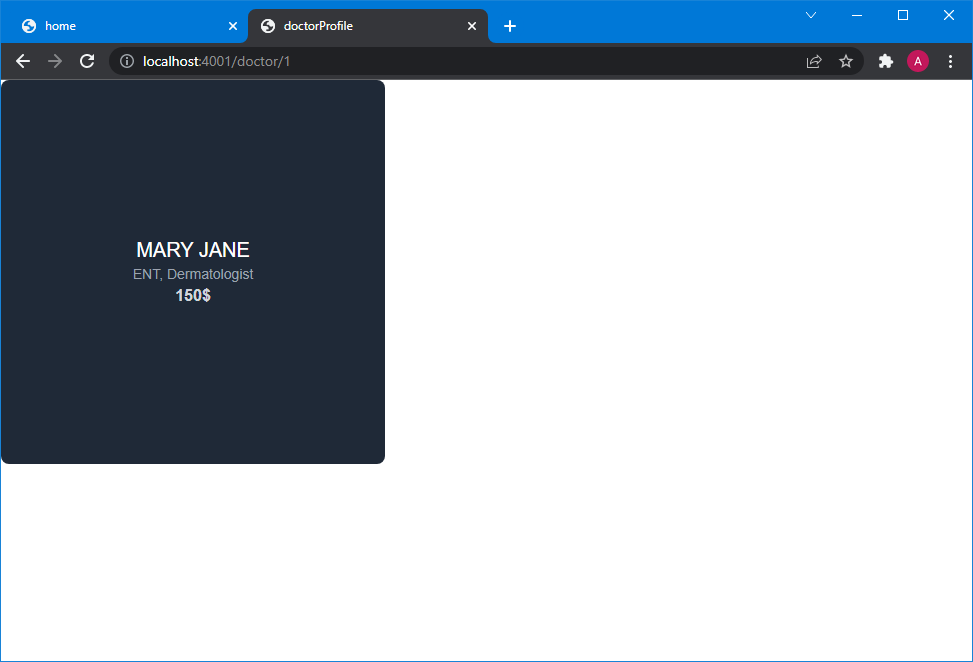
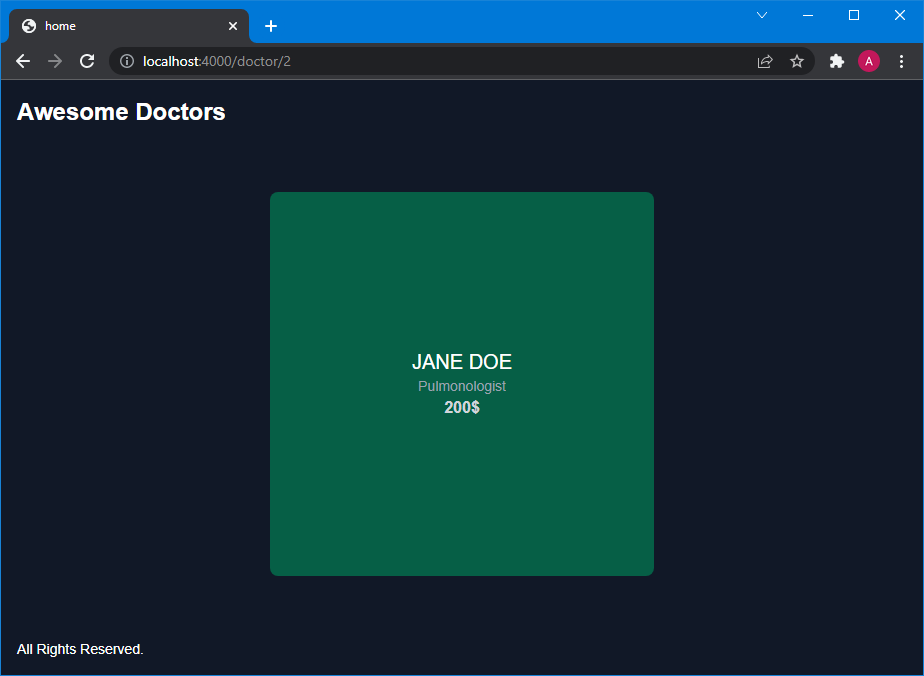
A quick check path /doctor/:id will give you
Micro Frontends In ActionAnchor
Okay, so now we have two apps, running on different ports, one has our base with the doctorList and the other has doctorProfile. But we don’t want this, we want for the end-user to get a unified view of the system. We need to somehow bring the doctorProfile component in our base app, and to do that module federation will help us!
Inside the webpack.config.js we have the Module Federation plugin configuration, let’s use that.
Go to the webpack.config.js of the DoctorProfile App
Change the first four keys of the module federation plugin config to
{name: "doctorProfileApp",filename: "remoteEntry.js",remotes: {},exposes: {"./src/components/DoctorProfile": "./src/components/DoctorProfile.jsx"},...}
Go to the webpack.config.js of the Home App,
{name: "homeApp",filename: "remoteEntry.js",remotes: {doctorProfileApp: "doctorProfileApp@http://localhost:4001/remoteEntry.js",},exposes: {},...}
Okay, so what are we doing here? We exported the doctorProfile component from the DoctorProfileApp by adding an entry in the exposes setting, it will be exposed on the remoteEntry.js file on the DoctorProfile app server. After that, we added the same remoteEntry.js as a remote in the Home App’s webpack.config.js. Now restart both servers!
We can now use the DoctorProfile component in the Home App.
src/App.jsx
...// Add this importimport DoctorProfile from "doctorProfileApp/src/components/DoctorProfile"...//Add this route<Route path="/doctor/:id" element={<div className="flex flex-1 items-center justify-center"><DoctorProfile /></div>}/>...
src/components/DoctorList.jsx
...//Add this importimport { useNavigate } from 'react-router-dom';//Add this functionconst navigate = useNavigate();const navigateToDoctorProfile = (id) => {navigate(`/doctor/${id}`)}...// Attach a click event with the a <div> tag to navigate to DoctorProfile page.onClick={() => navigateToDoctorProfile(doctor.id)}...
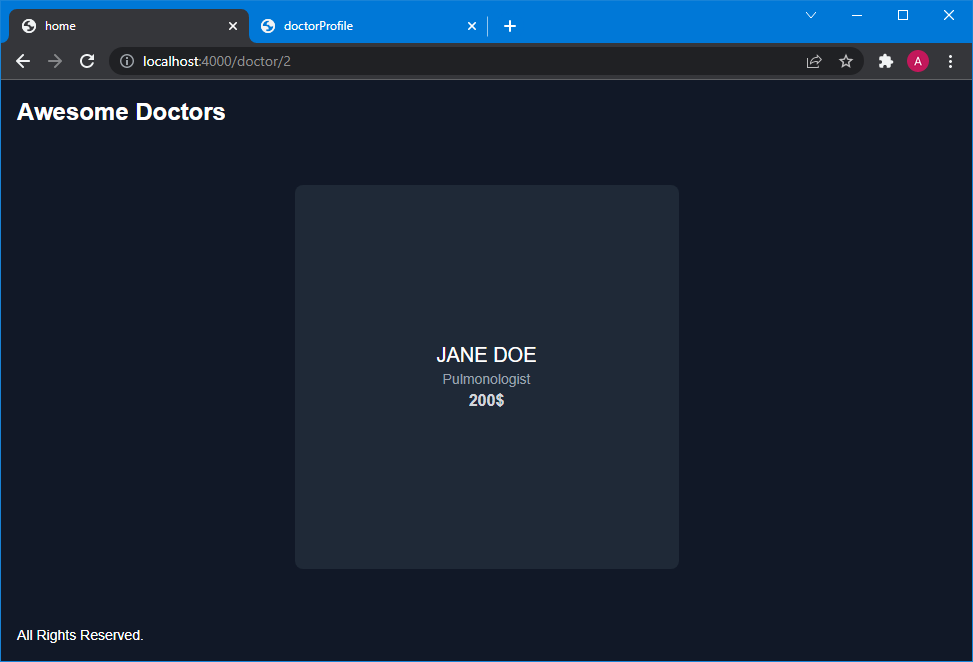
That’s it, Check the browser!
We are now getting the doctorProfile components on the http://localhost:*4000*/doctor/2 path.
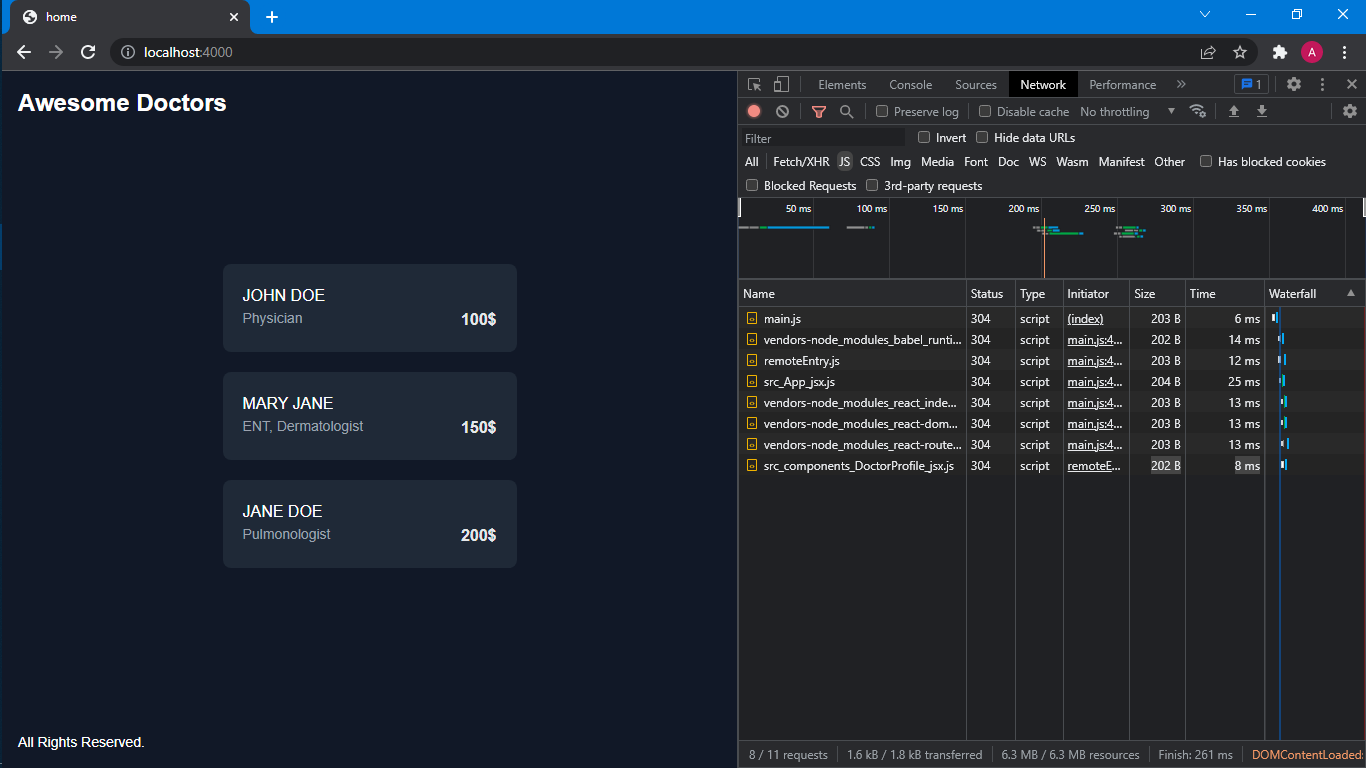
Also, to confirm the network call happening at runtime to fetch the remote component, open the Network tab in the Home App & reload the page. You can see network calls for getting the doctorProfile component happening on the fly. Try to make a change, for instance, the background color in the doctorProfile component in the doctorProfile App and then simply reload the home app, it will be reflected there as well (On Run Time, we won’t need to rebuild any apps).
We have successfully implemented a small example of Micro Frontends!
If you want to go on to explore micro frontend patterns more, you can try going a step further. At times, it's not possible to avoid a shared state between micro frontends and you might need to manage it. And, the next step would be to build an app to manage some shared state.
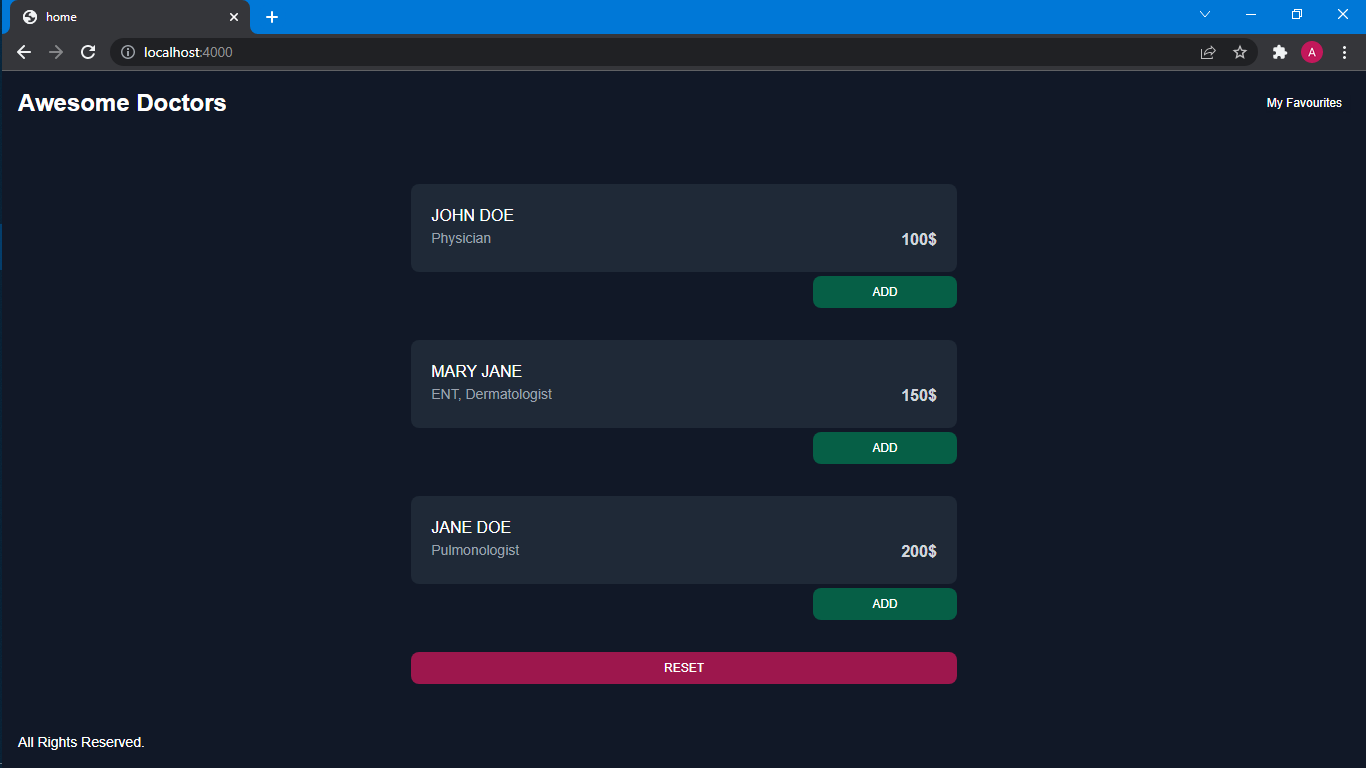
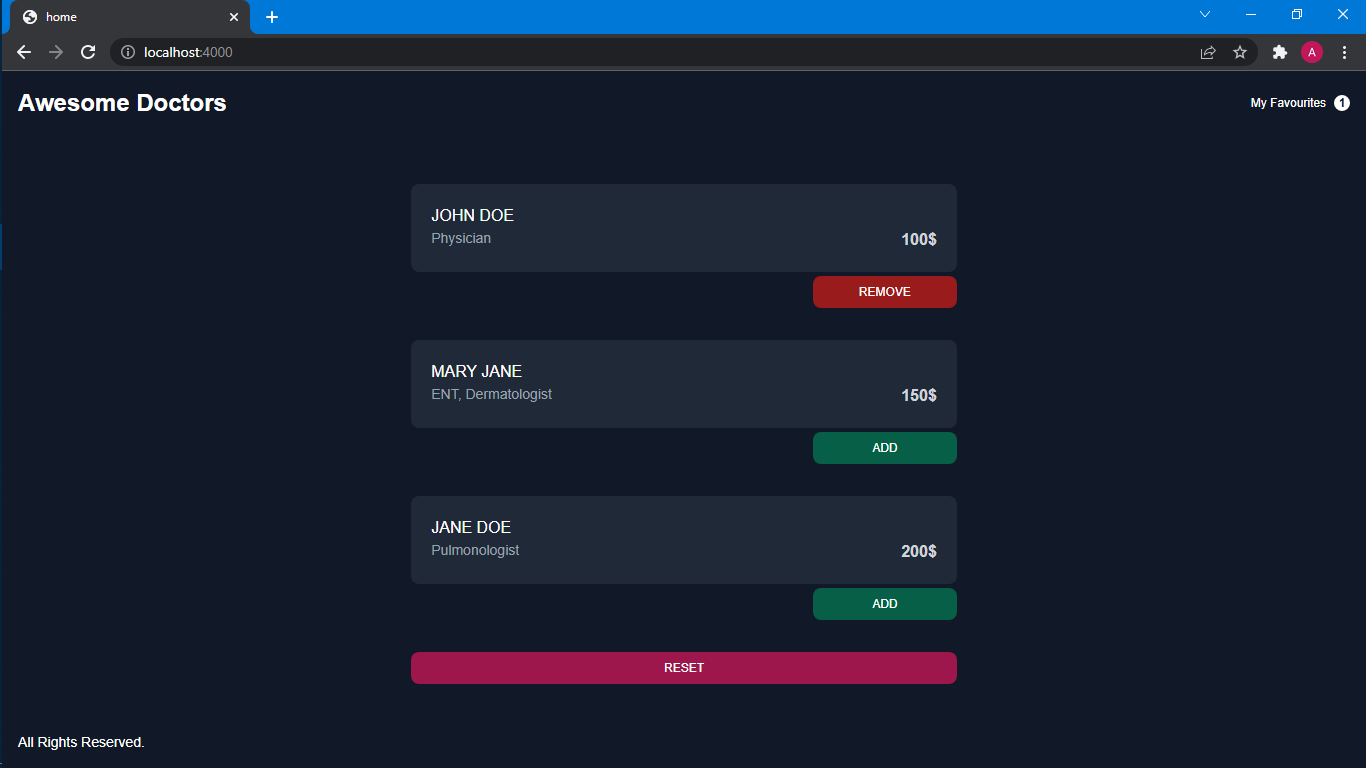
For instance, you can develop this existing setup further to build a favorites app. that will manage favorite doctors. Place Add, Remove buttons in the doctorList but manage the state (i.e the list of favorite doctors) in the new favorites app and also keep that state in sync with the Home app so that you can make a decision whether to show the Add or the Remove button.
Something along these lines:
I’d recommend you to try on your own, you’ll need a library to manage observables something like Redux / Mobx / rxjs, and the learnings from this article, If you struggle you can always take a sneak peek here.
