Securing API Access to your Hygraph Project
Learn how to secure and restrict access to your project API with Permissions.
Hygrpah gives you an instant GraphQL Content API when creating a new project where you can send queries and mutations — using a single endpoint.
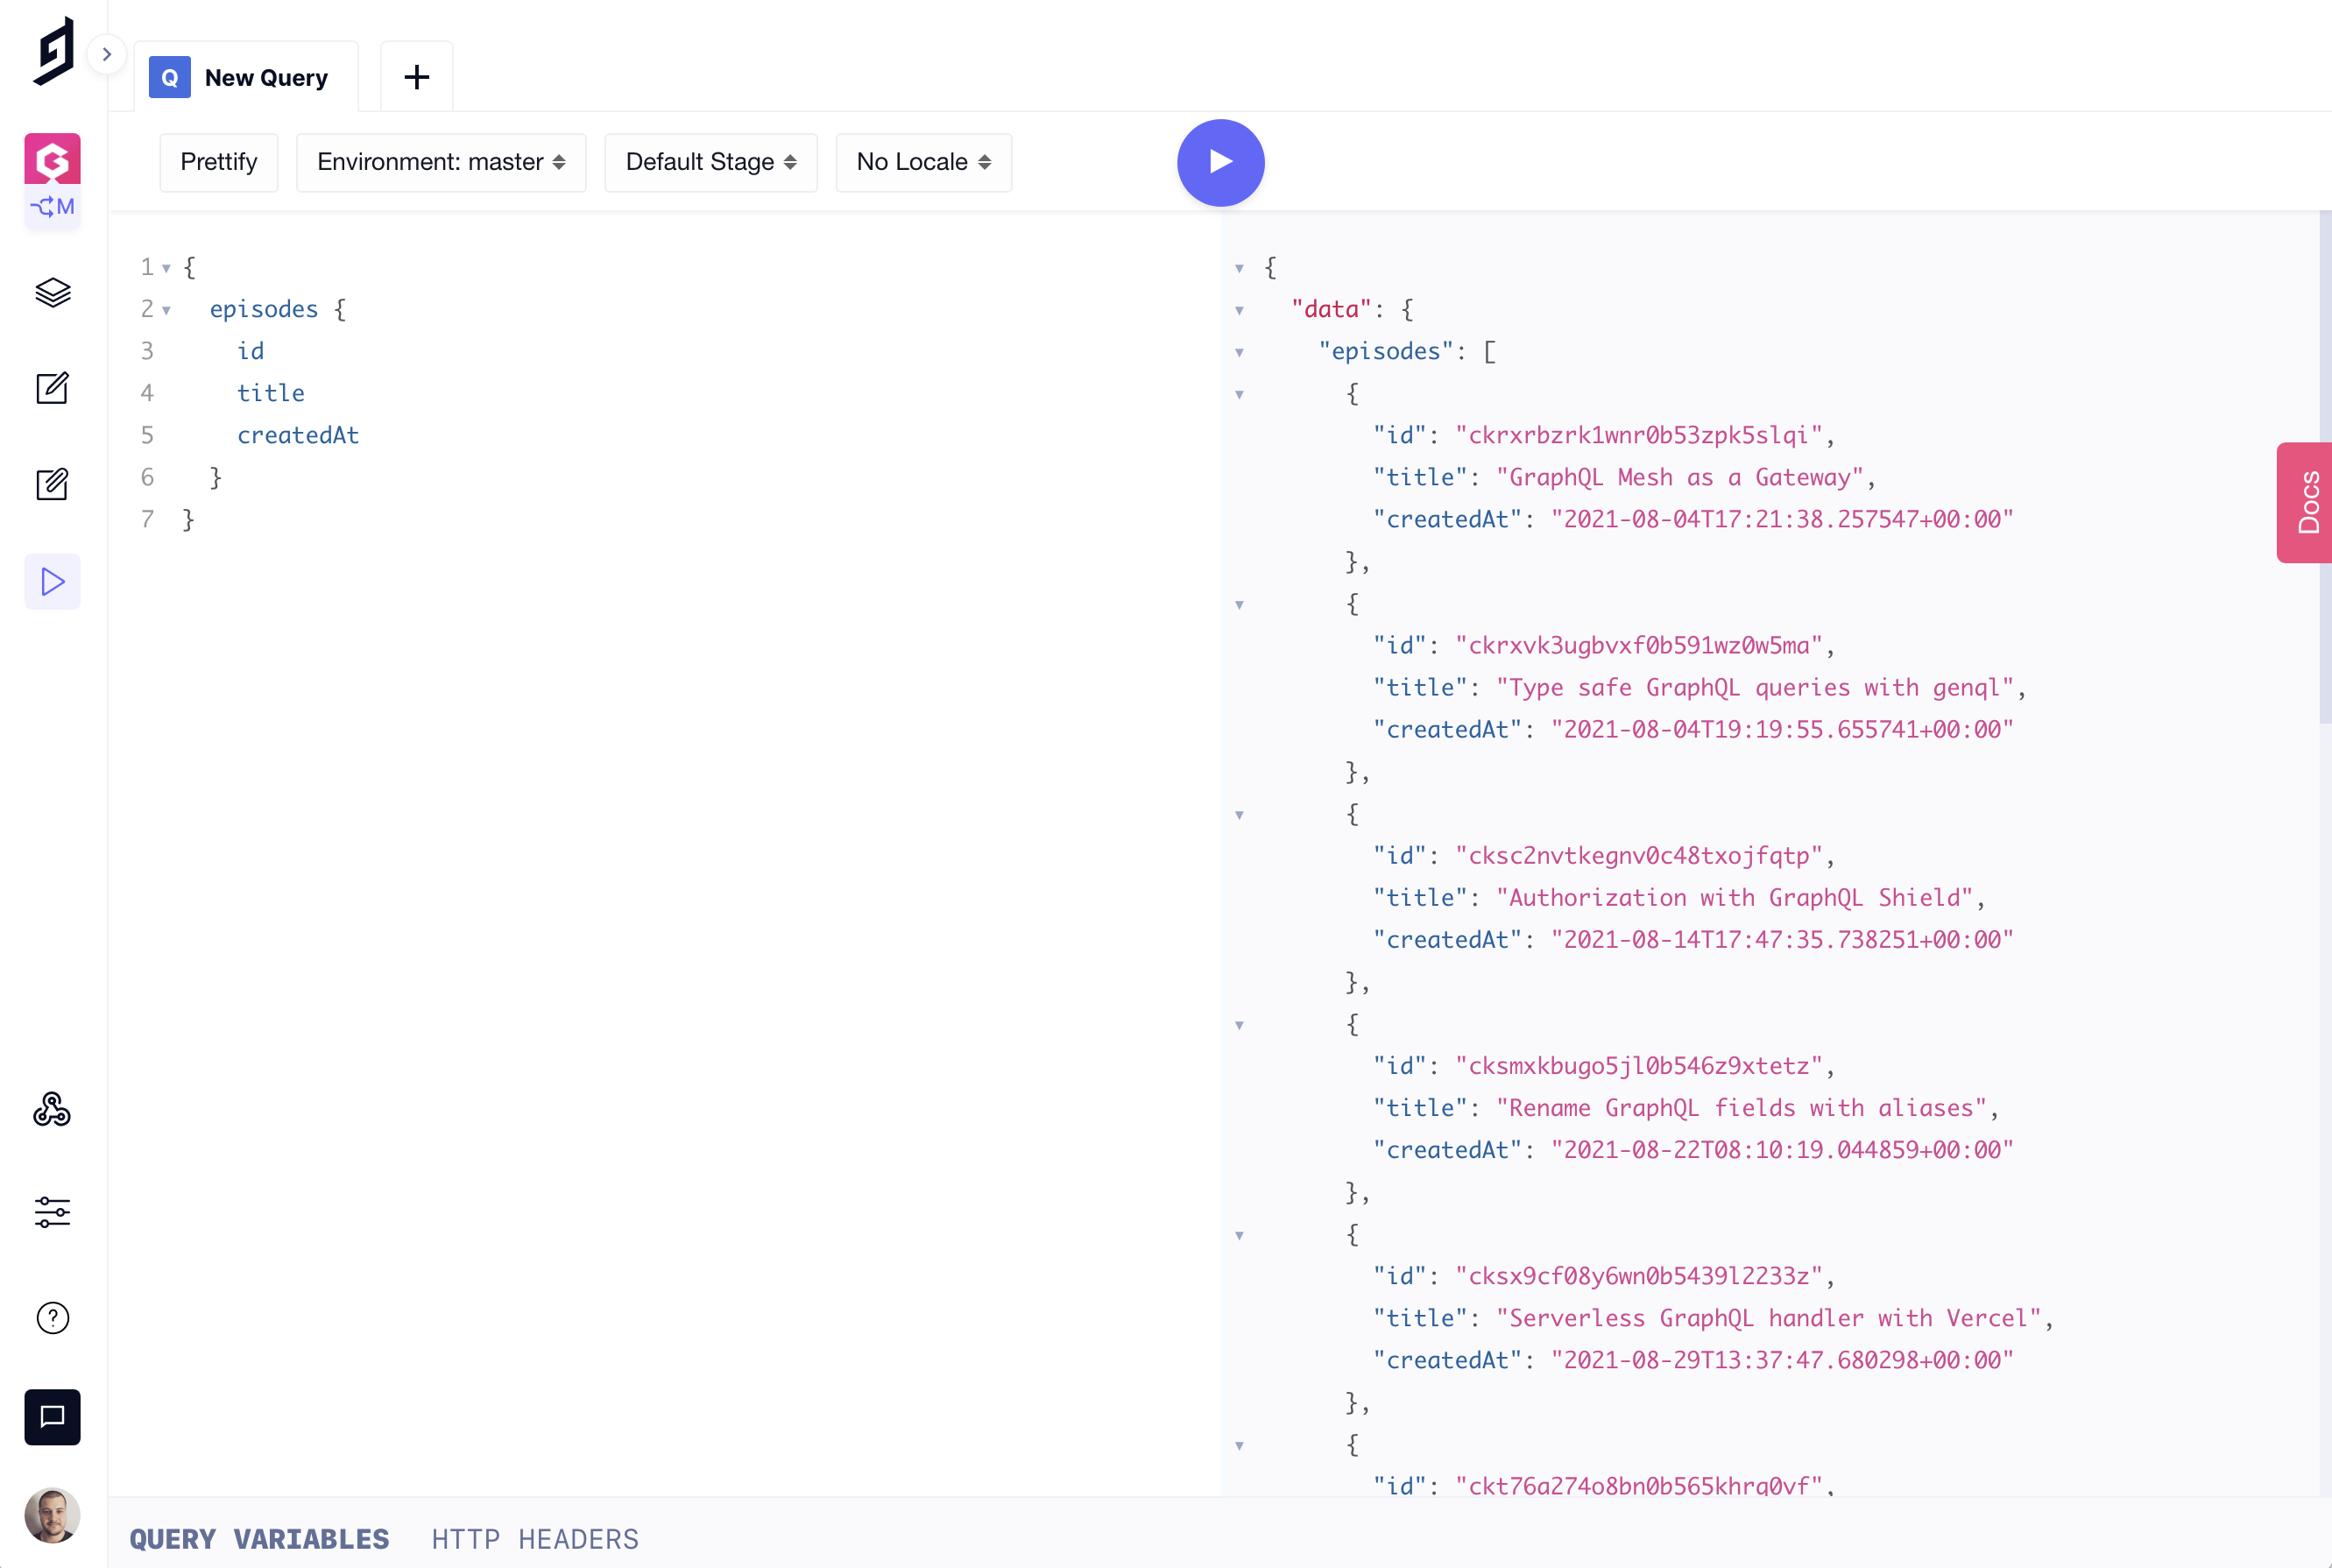
If you have a project with Hygraph, you have no doubt noticed the API Playground. You will also notice that you did not have to provide any kind of authentication to do this — by default only logged in CMS users are able to interact with your GraphQL Content API.
If you want to enable access via the API outside of the Hygraph UI, there are two options:
- Enable "Public API Access"
- Create a "Permanent Auth Token"
Let's take a look at each of these and when you might use them.
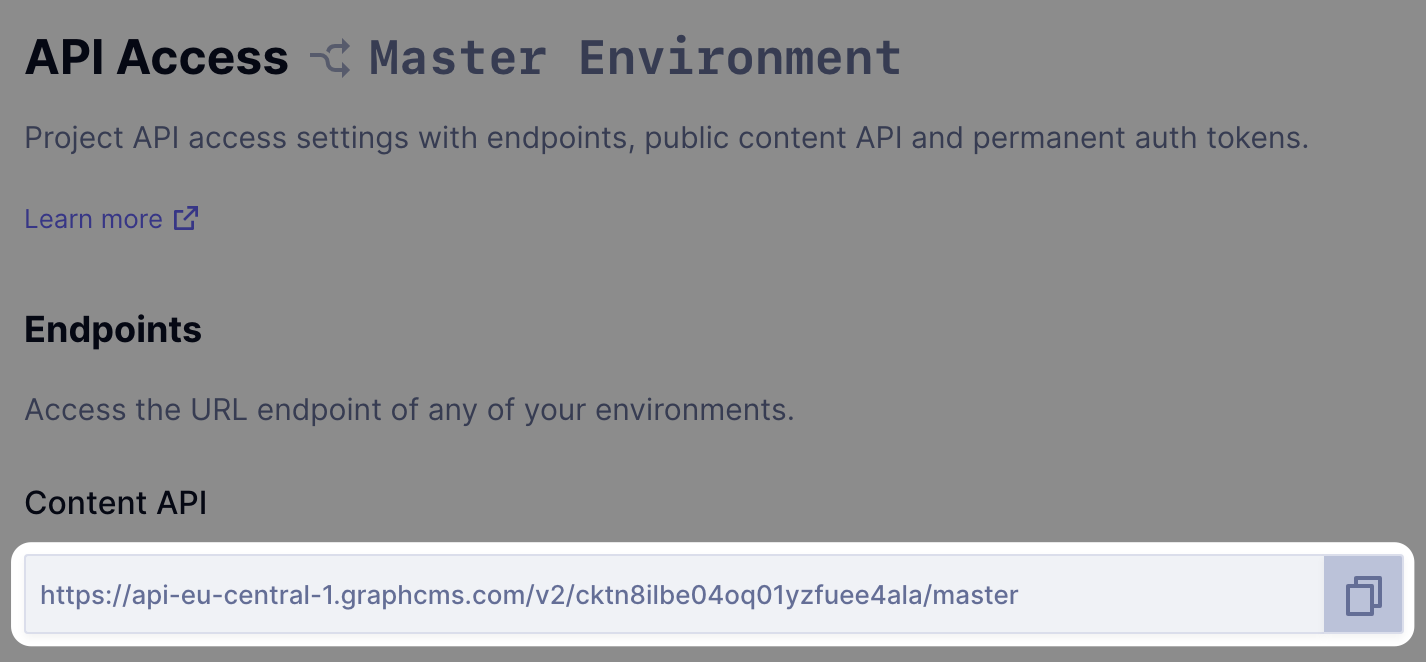
You will first need to navigate to your Project Settings > API Access page. It is also here you can fetch your projects API endpoint (which we will need a bit later):
Public API AccessAnchor
As the name suggests, enabling public API access to your project will allow anyone to access your projects data and modify it (if enabled) without any API keys.
It might be useful to enable public API access if you are storing statistical data that doesn't identify the person it belongs to — an example of this may be the number of Covid-19 cases and deaths recorded in your country, which you want to show on a map or graph.
By opening the API to the public, you can pass your Hygraph GraphQL endpoint onto the developers implementing the frontend without them having to worry about authenticating.
Permanent Auth TokensAnchor
For most applications, you'll want to use a Permanent Auth Tokens. This allows you to grant individual API keys restricted access to your projects content. Permanent Auth Tokens are also really useful if you later want to revoke access to any content.
A typical use case for Permanent Auth Tokens is occurs when working with content stages. When content editors save drafts, or publish to various stages, API keys can be scoped to deliver content from those stages.
Your development team may wish to use a Permanent Auth Token that is scoped to DRAFT content only — this way they know they can create new content entries with test data without worrying it'll go live on the website.
Content editors may wish to have a separate staging environment they can preview new articles, and website content changes before they go live. If you were using a custom content stage for QA, your staging website could be scoped to only fetch from this content stage.
Once content lands in the PUBLISHED content stage, your production website would be scoped to fetch only production ready content thanks to the Permanent Auth Token rules.
When making a request with a Permanent Auth Token, you'll need to pass it via a HTTP header in the format of a Bearer token:
Authorization: Bearer <YOUR_PERMANENT_AUTH_TOKEN_HERE>Learn more about Permanent Auth Tokens.
Managing PermissionsAnchor
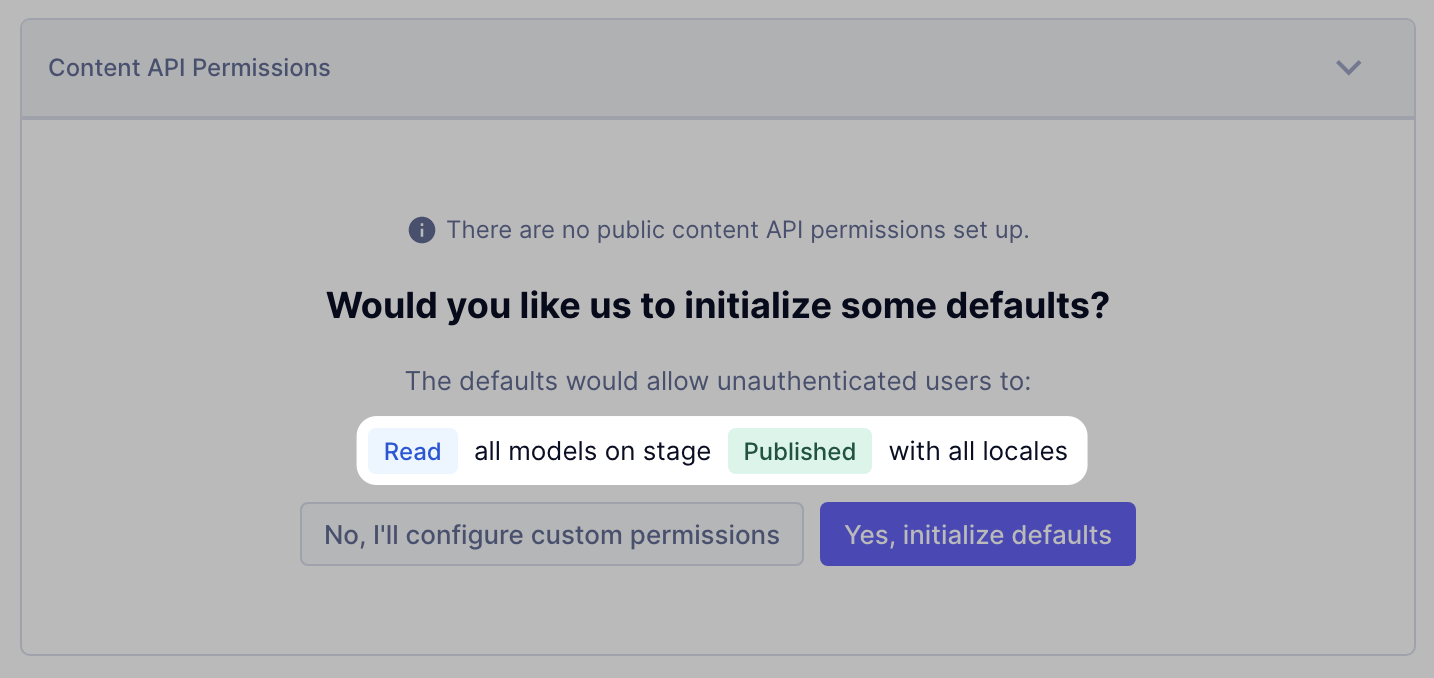
If you make content available publicly, or to the select few with a token, you can manage individual permissions for models, and entries.
The recommended settings for those who want to enable API access is that you only enable access to the PUBLISHED content stage.
This means your team can continue to create content in DRAFT and any other stages, but only those with your GraphQL endpoint can access the data that you want them to see.
However, if you have content across a few models, you'll want to use granular permissions to specify who can access what.
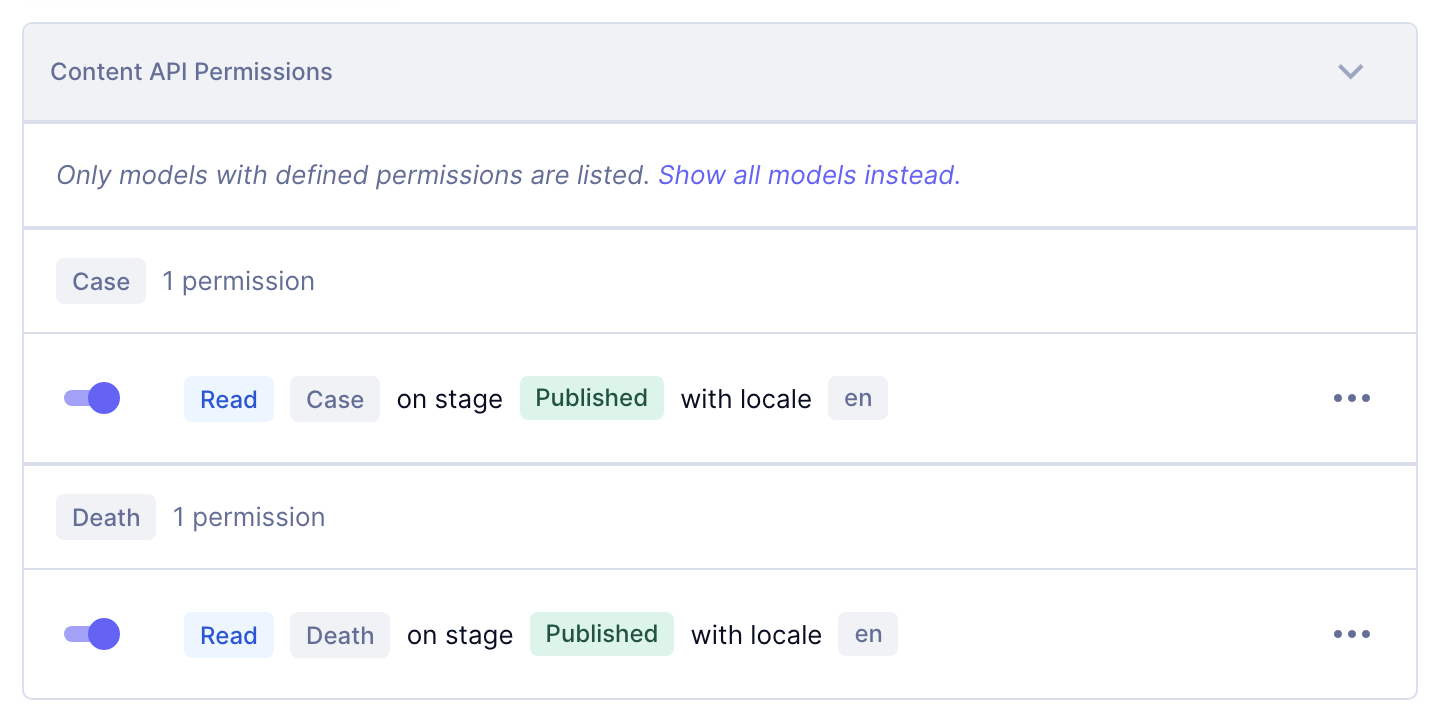
If we continue with our example of storing Covid-19 stats, you can see the list of permissions below that users can only READ from the PUBLISHED content stage with the locale EN for the models Case and Death.
Condition Based PermissionsAnchor
We can also restrict API access based on the content within the models. We can do this by specifying conditions.
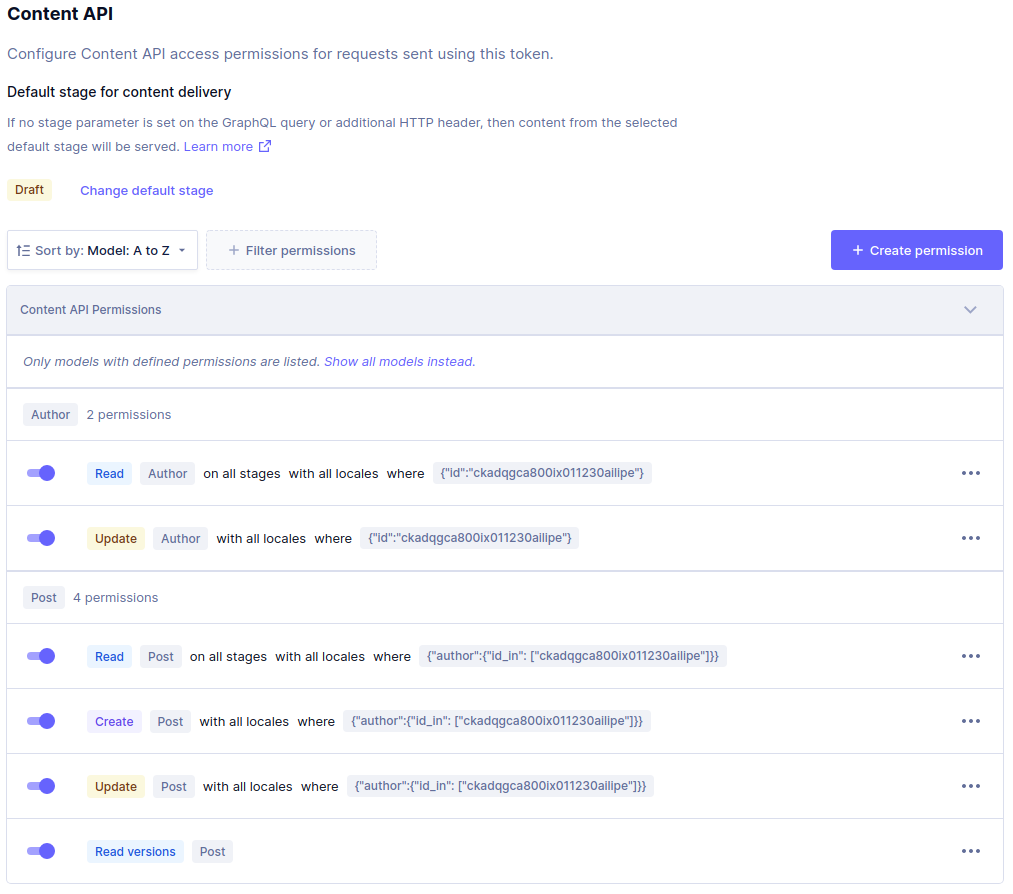
Below, we have a more advanced use case that restricts access to reading, creating, and updating entries where the Author ID is equal to, or in an array of IDs.
Hopefully, this gives you an idea of how you can go about securing your APIs and highlights how you can customize your API permissions with ease to meet your use case's needs.
These permissions can also be applied to users of your project — check it out here.
