Migrating to the New Hygraph
Find out how we can migrate to the new version and what breaking changes you might stumble upon.
We are pleased the announce the new version of Hygraph. Our Team has put a lot of time and effort into delivering the future of content management. In this guide we will discover all the new features, find out how we can migrate to the new version and what breaking changes you might stumble upon.
The Legacy System will be shutting down on February 1st 2021!
New FeaturesAnchor
New User InterfaceAnchor
We spent the last few months overhauling the complete Hygraph experience. The UI comes now in a much lighter representation, helping you and your editors to focus on the important things.
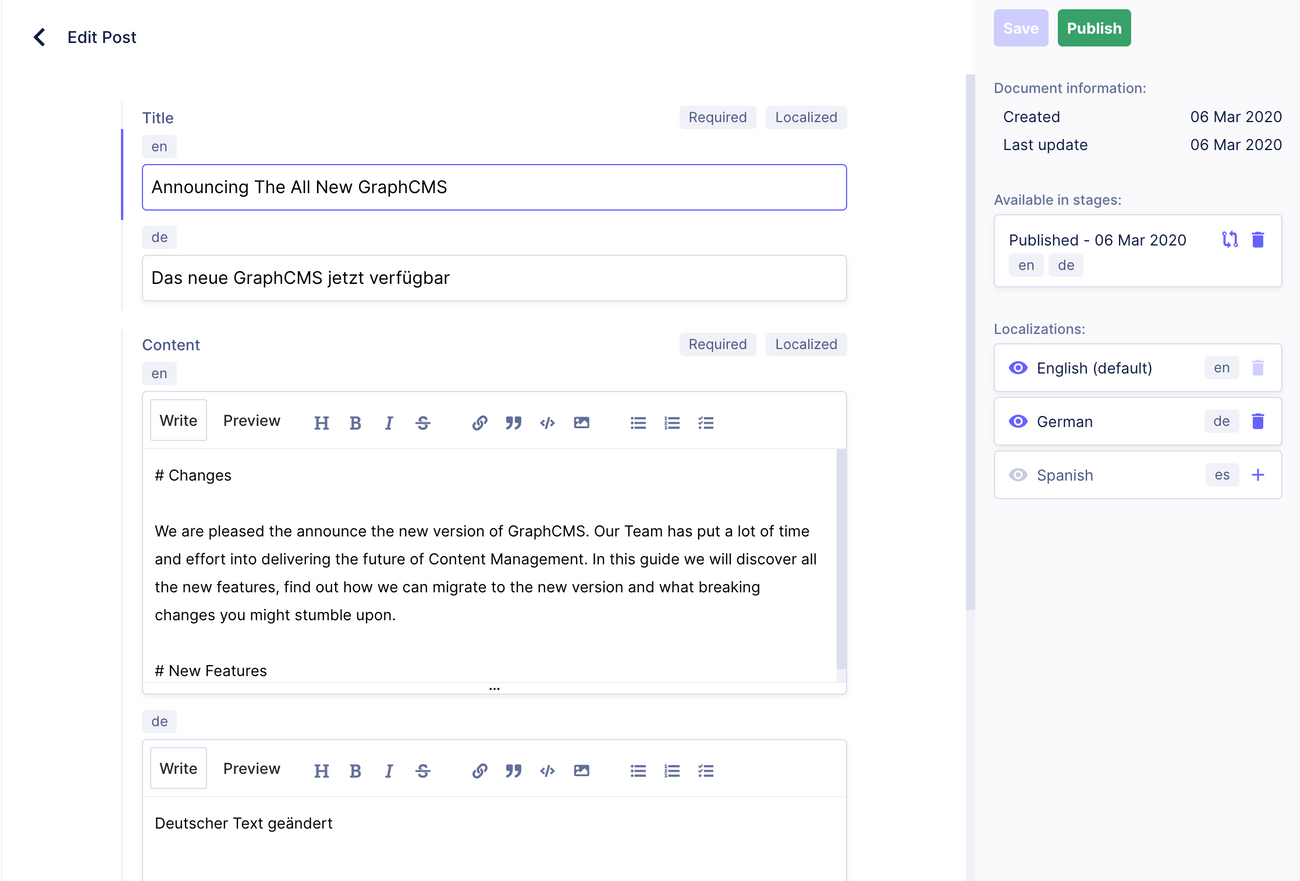
The editing interface also features a new sidebar (right side) to help you keep track of publishing, localizations and versions.
Content Staging: Drafting & PublishingAnchor
One of the biggest changes to Hygraph is the introduction of Content Staging. It allows your editors to keep working on drafts, without altering the published version.
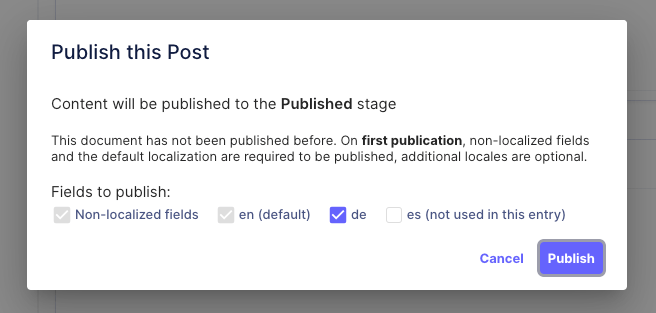
By default, all content that you create will be in the DRAFT stage. Once you decide to publish your entry, a copy will be pushed into the PUBLISHED stage of your project. You can also decide which localizations of your entry you want to publish, giving you full control of the workflow.
The content edit form also offers a comparison view to compare your current draft version with the published version.
Sortable RelationsAnchor
Relations also got a significant update. From now on, you can manually determine the order of your related entries via drag and drop in the content management interface.
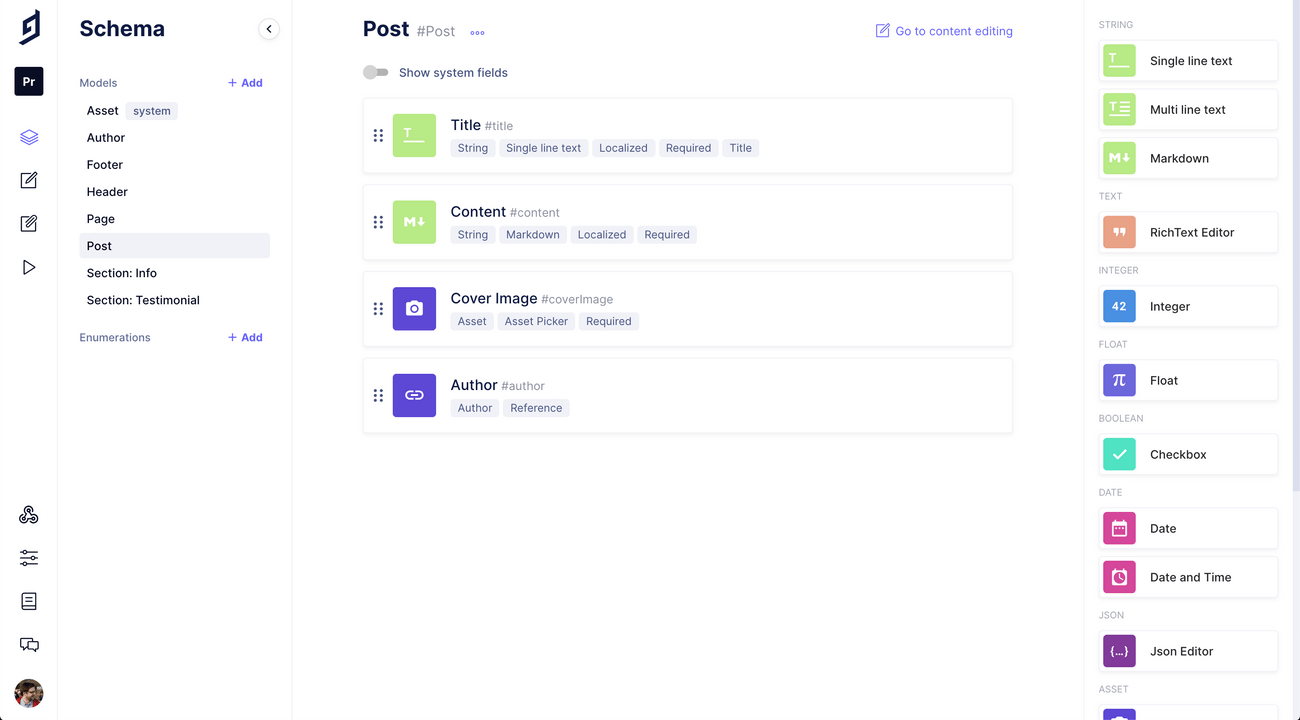
As can be seen on the short clip, we have replaced the relation table with an easy to use list, that renders the title fields of the connected model. You can configure title fields in the field configuration.
Relations can also be sorted by using the mutation API.
Polymorphic Relations: Support of GraphQL Union TypesAnchor
Easily building complex content structures like a large set of landing pages will become much easier with the new version of Hygraph. Relations can now be polymorphic, meaning a model can be connected to multiple other models. Polymorphic relations also allow ordering of the connect entries, as seen above.
Localization ImprovementsAnchor
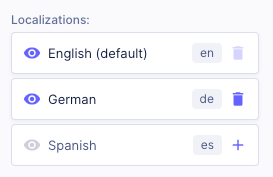
Just like before, localization can be enabled on field level. However, one big difference in the new system is, that you can now selectively enable or disable localizations per entry. This allows you to have certain entries only in your default language, while others are partly or fully translated. The new publishing feature also allows you to have full control on what locales are published to a stage.
Locales are configurable in your project settings.
Accessing localizations via the API has also improved. Read more about this in the Breaking Changes section.
Granular WebhookAnchor
The new Hygraph allows you granularly define the trigger of your webhooks. You can choose on which Content models, stages and actions the webhook should trigger. For example, if you want to rebuild your static website only when content is published or unpublished from a stage, you can do that now!
How to MigrateAnchor
Projects migrated to the new system also have a new API endpoint. This means modifications of your website or your app code might be necessary. Read more about the breaking changes to queries and mutations in the section "Breaking Changes" below.
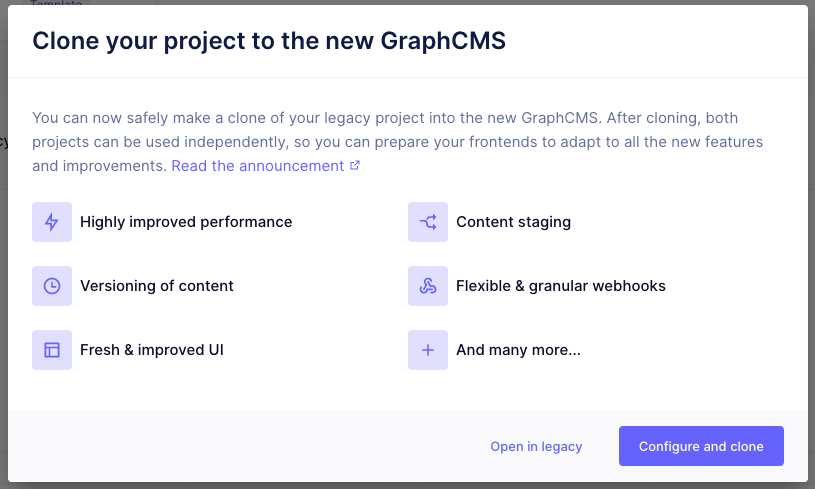
In order to migrate your legacy project, you can head to app.hygraph.com and login with your existing user account. If you scroll down, you can see a section called "Legacy Projects". Click on the project you want to migrate and the following dialog will open:
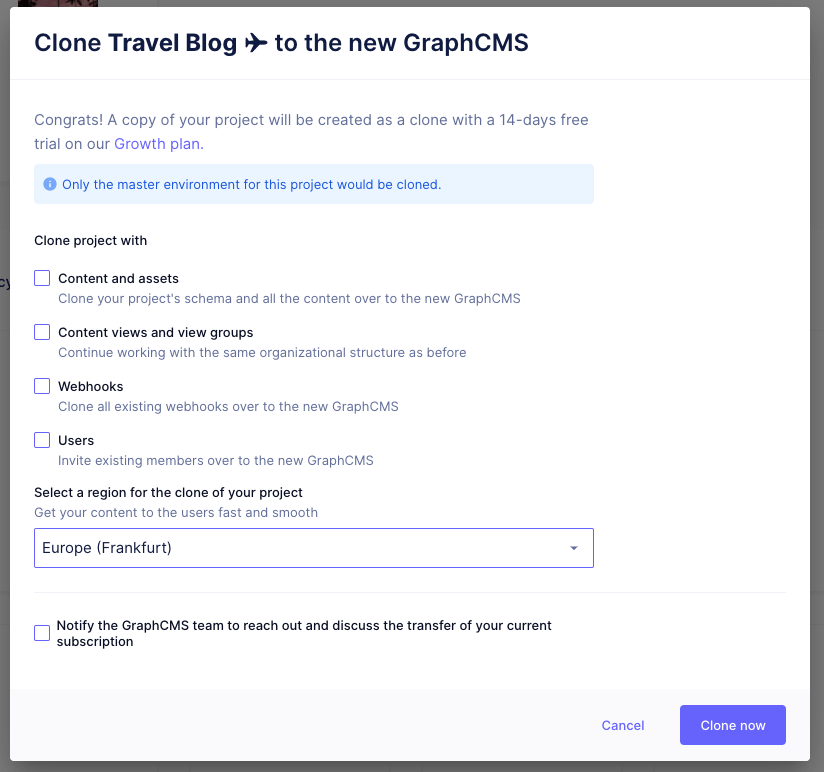
Select "Configure and clone" to start configuring the parameters for the migration. You can select if you want to clone over content & assets, members, webhooks and content views. If you also want to move your existing subscription to the new project, tick the box to notify us at the bottom.
Once those settings are configured, just press "Clone Now" and the process will be kicked off. Depending on the size of your project, this might take a while. We will send you an email as soon as the migration is done or failed.
Breaking ChangesAnchor
PublishingAnchor
To find out more, also have a look into our Content Stage Documentation.
status field is now called stage.
Publishing of entries via the API is now done by using a publishModel mutation. The normal publish mutations takes a where argument to select the entry to publish by ID or other unique fields. You also need to specify the content stage you want to publish to with the argument to.
mutation publish {publishPage(where: { id: "xxx" }, to: PUBLISHED) {id}}
The arguments for models with localized fields are where, locales, publishBase and to. With where you decide which document to publish by ID or any other unique fields. locales allows you to publish any additional locales besides the default locale. publishBase is a flag that lets you publish the default locale, relations and the base fields (non-localized scalar fields). Finally to is the target stage, so PUBLISHED currently. In the future you will be able to create additional content stages.
mutation publish {publishPost(where: { id: "xxx" }publishBase: truelocales: [de, es]to: PUBLISHED) {id}}
To find out in which stages your document and its localizations are available, you can use the following query as example:
{pages {documentInStages(includeCurrent: true) {idstagelocalizations(includeCurrent: true) {localestagetitle}}}}
LocalizationAnchor
In the new version of Hygraph we have reworked the way localization works on the API level.
More information is also available on the Localization Documentation page.
In order to fetch available localizations, you can use the following query as example. includeCurrent allows to specify if the current selected locale should be included in the localizations list. If no other locale is specified in the header or query param, the default locale will be returned.
{pages {idtitlesluglocalelocalizations(includeCurrent: true) {localetitle}}}
The returned data will look like this, where the default locale is en:
{"data": {"pages": [{"id": "ck7g2vs1k00110188fmc81h26","title": "Homepage","slug": "homepage","locale": "en","localizations": [{"locale": "en","title": "Homepage"},{"locale": "de","title": "Startseite"}]}]}}
Creating localized Entries via the API can be done as follows. The top level fields in the data object always belong to the default locale or are non-localized fields. Adding additional locales can be done by passing the localizations object, which allows to create or update locales.
mutation xx {createPage(data: {title: "English"slug: "testing"localizations: { create: [{ data: { title: "German" }, locale: de }] }}) {id}}
Passing a locale headerAnchor
The gcms-locales header is also still present, which allows you to specify the returned locale of the query you are sending.
An example could look like this: 'gcms-locales': 'rb, de, en'. Here the order specifies the fallback order. If theres no localization for locale rb, de will be used. If there's no localization for de, en will be used.
Locales should always be lowercase.
The gcms-locale-no-default header is no longer supported.
API FiltersAnchor
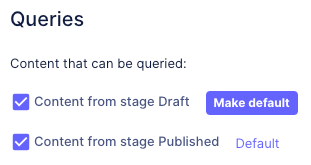
The new version of Hygraph replaces the pre-applied filters for Public APIs and Permanent Auth Tokens with a content staging system with selective configuration of default stages.
Date FieldsAnchor
The normal date fields are now actual date fields in the format of 2020-03-26, opposed to the legacy system where it still included a time.
The format of the DateTime fields also changed slightly from 2018-12-14T14:32:46.082Z to 2018-12-11T20:20:00+00:00 in the new system.
Result Set SizeAnchor
The new system has a default result set size of 100 entries. This means that any query will return a maximum of 100 entries. You can extend this result set up to 1000 entries by using the first parameter:
{products(first: 1000) {name}}
If you want to fetch more than these 1000 entries, you should make use of pagination. In general, we highly recommend to use GraphQL pagination whenever possible.
Rich Text Raw ValueAnchor
The new system introduces a new Rich Text AST, which is now based on SlateJS v0.5. This means that mutating rich text fields now requires using the new AST. You can find out more about it in our documentation.
Assets are localized by defaultAnchor
Our new system introduces a major change to the way we handle localization, as mentioned before on this page. Thus we also changed the way how localization works with Assets. Previously you were able to mark asset fields as localized, in the new system, the Asset entry itself is localized already. This means on an asset entry you can upload a file for each localization that you have in your project.
This also applies to localized relation fields in the old system. As the entries now handle the localization on the document itself, this isn't needed anymore in the new system.
Uploading Assets via APIAnchor
We also introduced a new way to upload Assets via API, which you can find here.
DESC FilteringAnchor
If you are using a _desc filter, e.g. on integer fields, null values will now appear at the top, due to the default setting on the database engine. In the future we will add an option to configure this on a query-basis.
Multiple Value Field "set"Anchor
In Legacy a multiple value field, for example of type string, required to pass a set field that took the array of values. In the new system, this isn't needed anymore. You can just pass the array to the field itself and it will act as a set, overwriting ever value in the array of the entry with the array you are passing into it.
Update, Upsert and Nested MutationsAnchor
The connect part for nested mutations changed compared to the legacy system. Instead of just passing a list of IDs, you will now need to pass an object with a where filter on for example the ID. This change has been made to allow adding sortable relations, which can be set using the "position" field on that same object. This will apply to mutations of type "update".
connect: [{where: {id: "123"}}, {where: {id: "234"}, position: {end: true}}]
Additionally, the upsert mutations no includes a "upsert" object inside of the mutation like this:
mutation {upsertPost(upsert: {create: {},update: {}}where: {},) {}}
Lastly, nested mutations for update, do not include an updateMany and deleteMany portion anymore. As a workaround, you can make use of the normal updateManyConnection and deleteManyConnection mutations with filtering applied.
