Connect your Hygraph project to Netlify
The integration lets you update your static deployments via a button in the Hygraph content view. Handled differently than by webhooks, the only configuration needed is connecting your Hygraph project to your Netlify site/app and selecting which content entries can trigger a rebuild via the UI.
This integration allows you to install a button in the Hygraph sidebar of a content model for manual redeploys, alongside a visual indicator of deployment status.
What you can do with the Hygraph-Netlify integrationAnchor
- Trigger Netlify builds within your content view with a single click.
- View the status of your Netlify build without leaving the Hygraph UI.
- Specify which content models display the button in the sidebar, giving you more control over how builds are triggered when there are changes to your content.
Prerequisites to use this integrationAnchor
- When using this integration, you should already have a static site deployed in an active Netlify project. Don’t have one? Set up a free Netlify account or learn about other plans!
- You should have an existing Hygraph project. Sign up for a free Hygraph developer account.
- You should configure your Netlify site to support continuous deployment.
Apps are environment specific. This means their configuration is applied per environment. Take this into consideration if you're working with a project using more than one environment.
How it worksAnchor
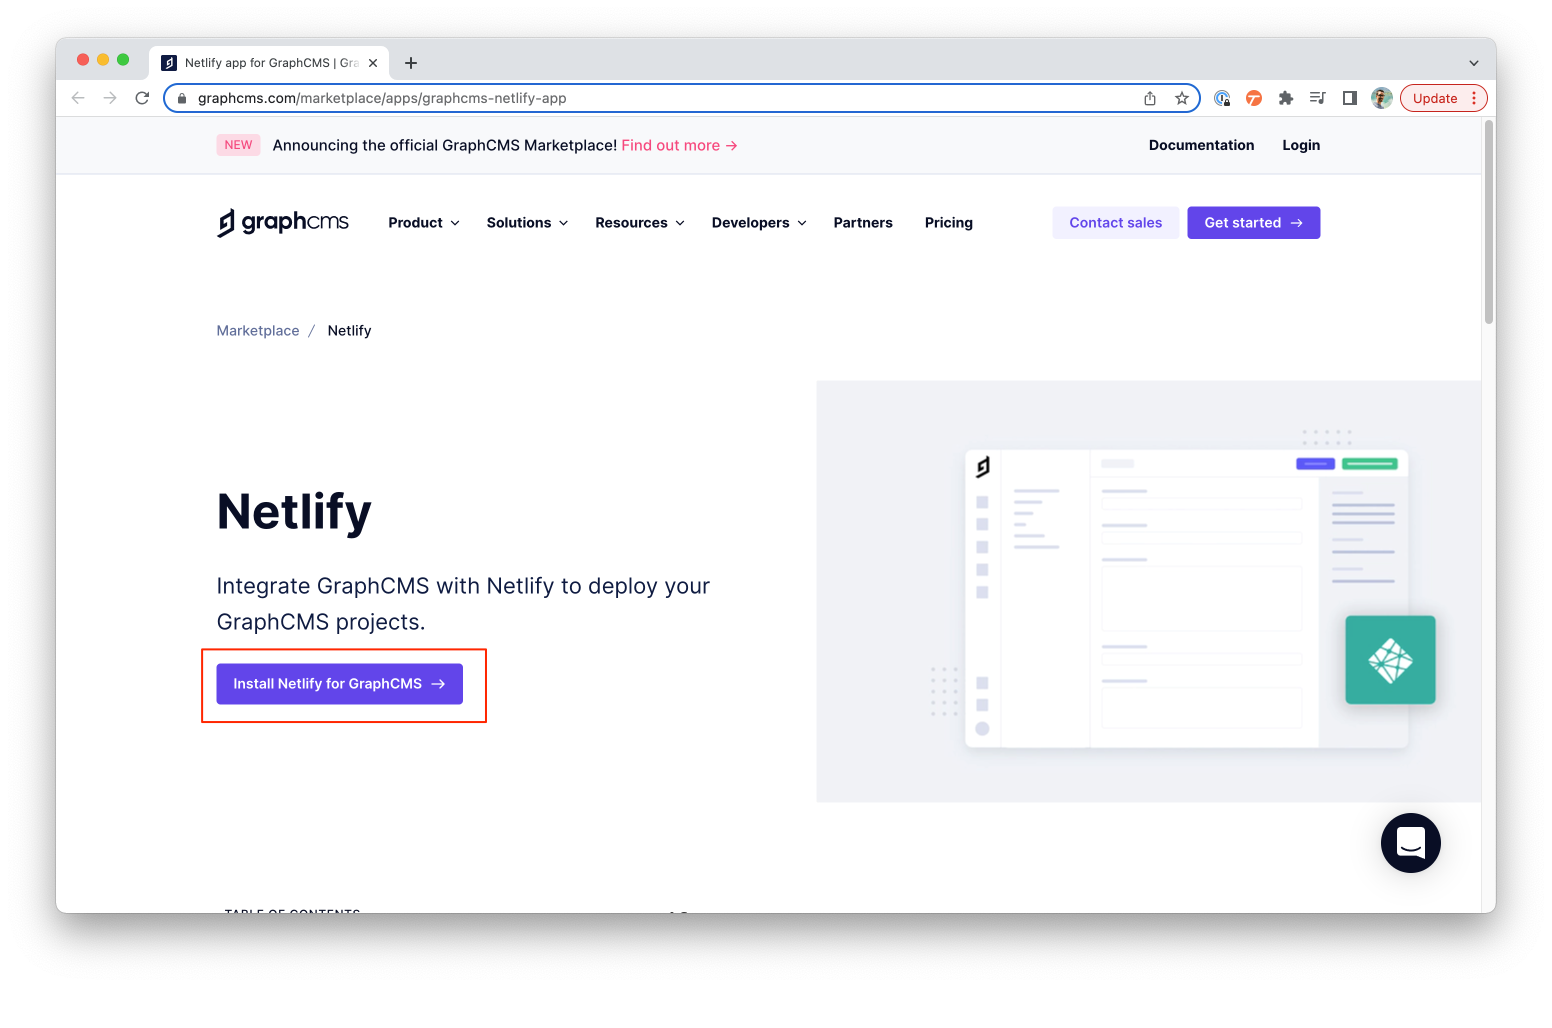
Step 1) Install the Netlify appAnchor
Click here to install Netlify app on Hygraph.
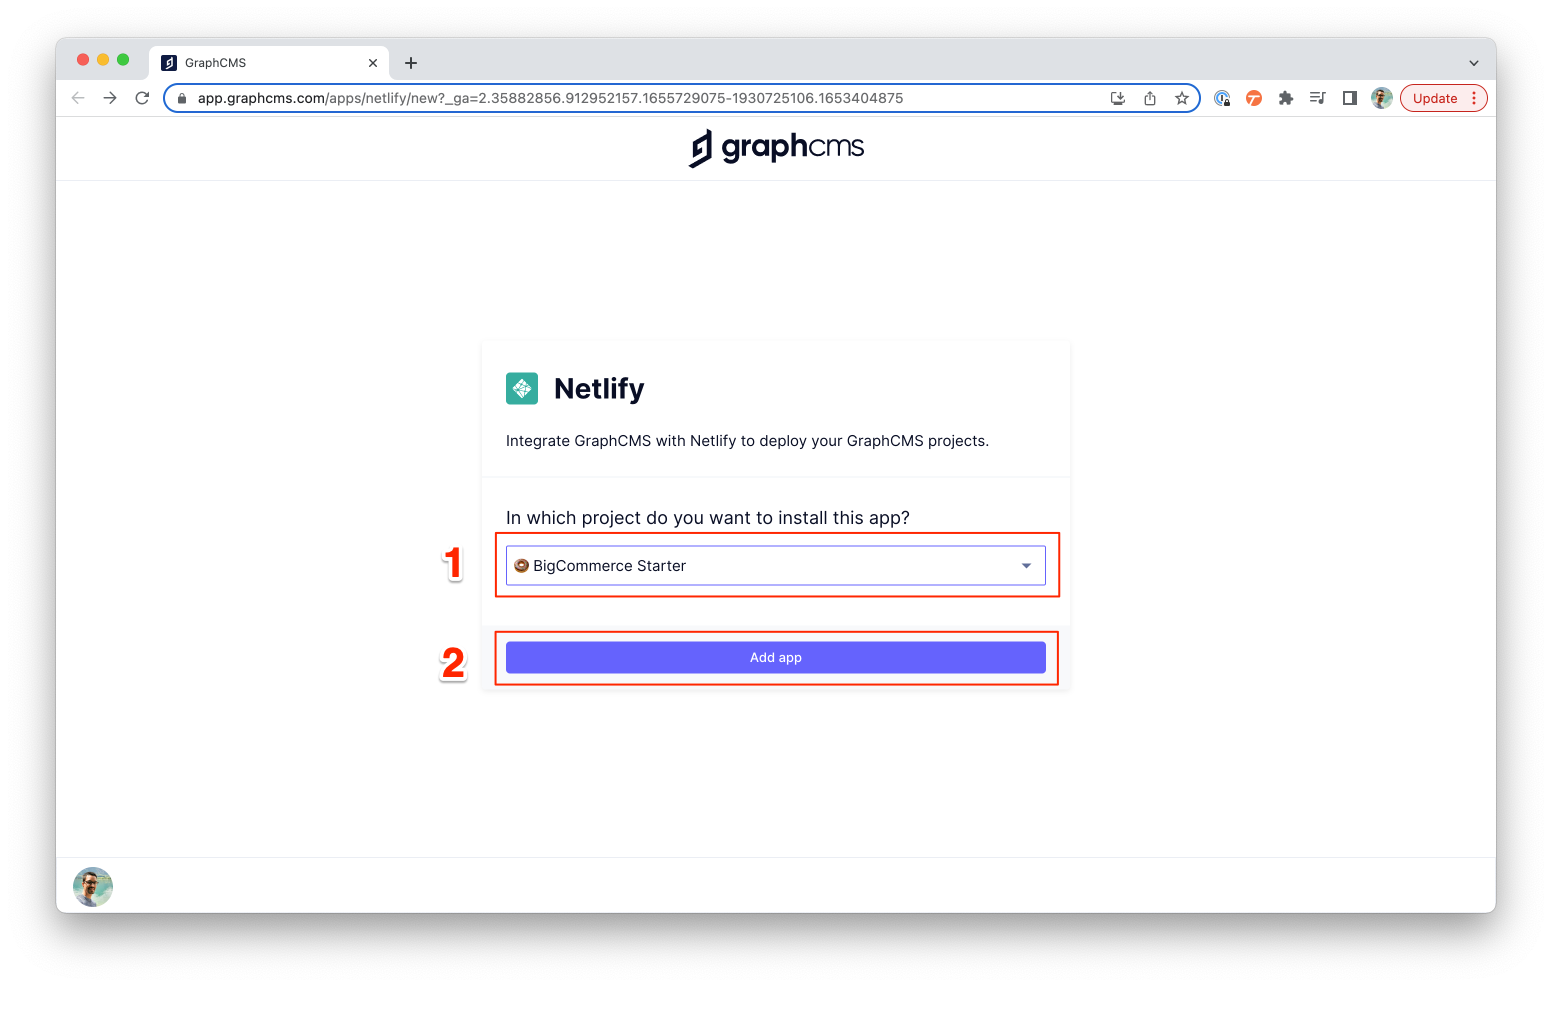
Step 2) Select a projectAnchor
Select which project you want to install the app in, then click Add App.
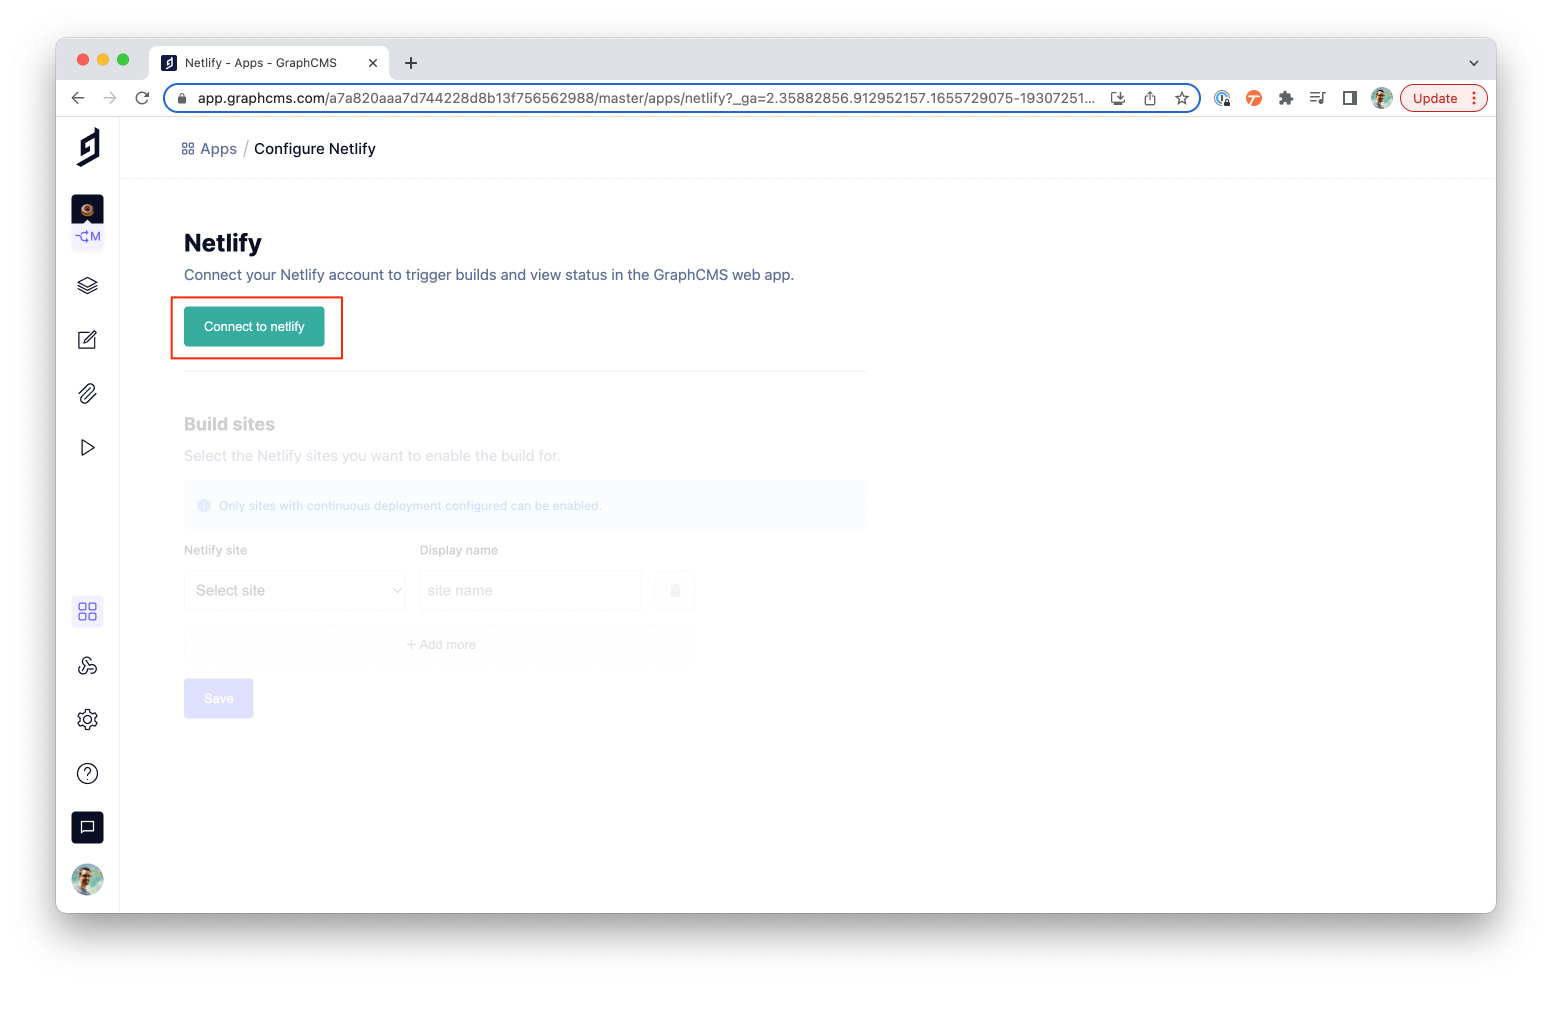
Step 3) Connect Hygraph to NetlifyAnchor
Click on Connect to Netlify to setup the connection with Hygraph.
Step 4) Authorize the Netlify appAnchor
Click on Authorize to allow the app to perform actions on your behalf. After authorizing the app, you can close the tab and go back to Hygraph dashboard.

Step 5) Set up your websiteAnchor
In the dropdown, select your website on Netlify, add a Display Name, then click on Save.

Step 6) Adding Netlify deploy button to modelsAnchor
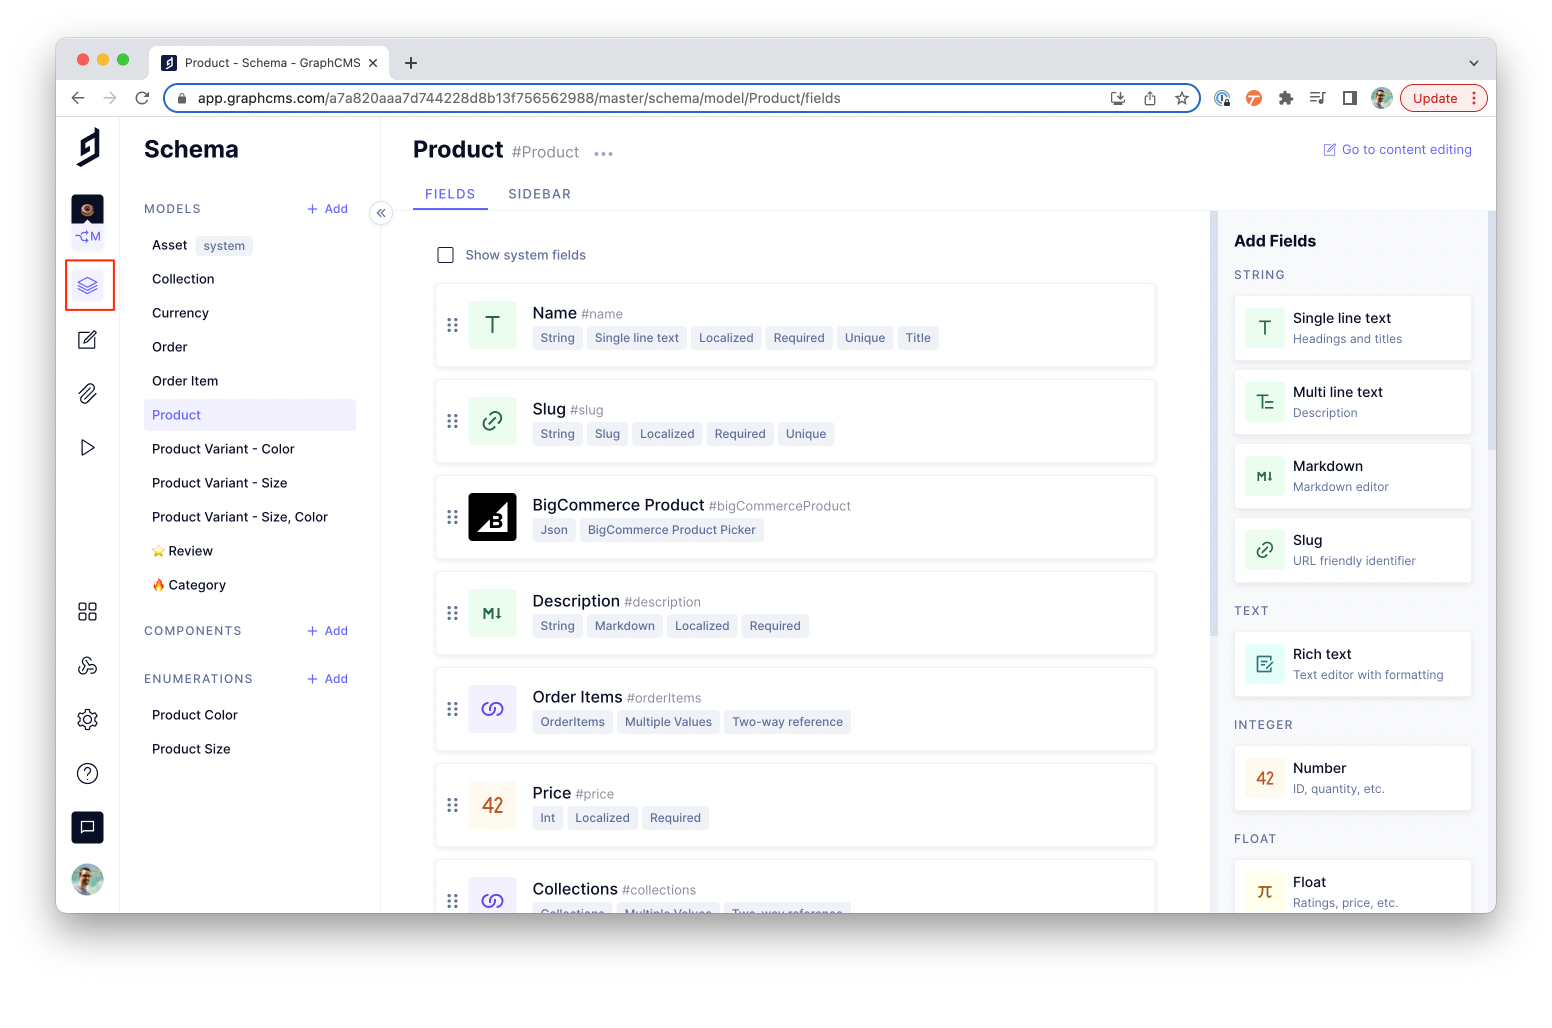
Now, go to the Schema editor and select the model you want to add Netlify deploy button.
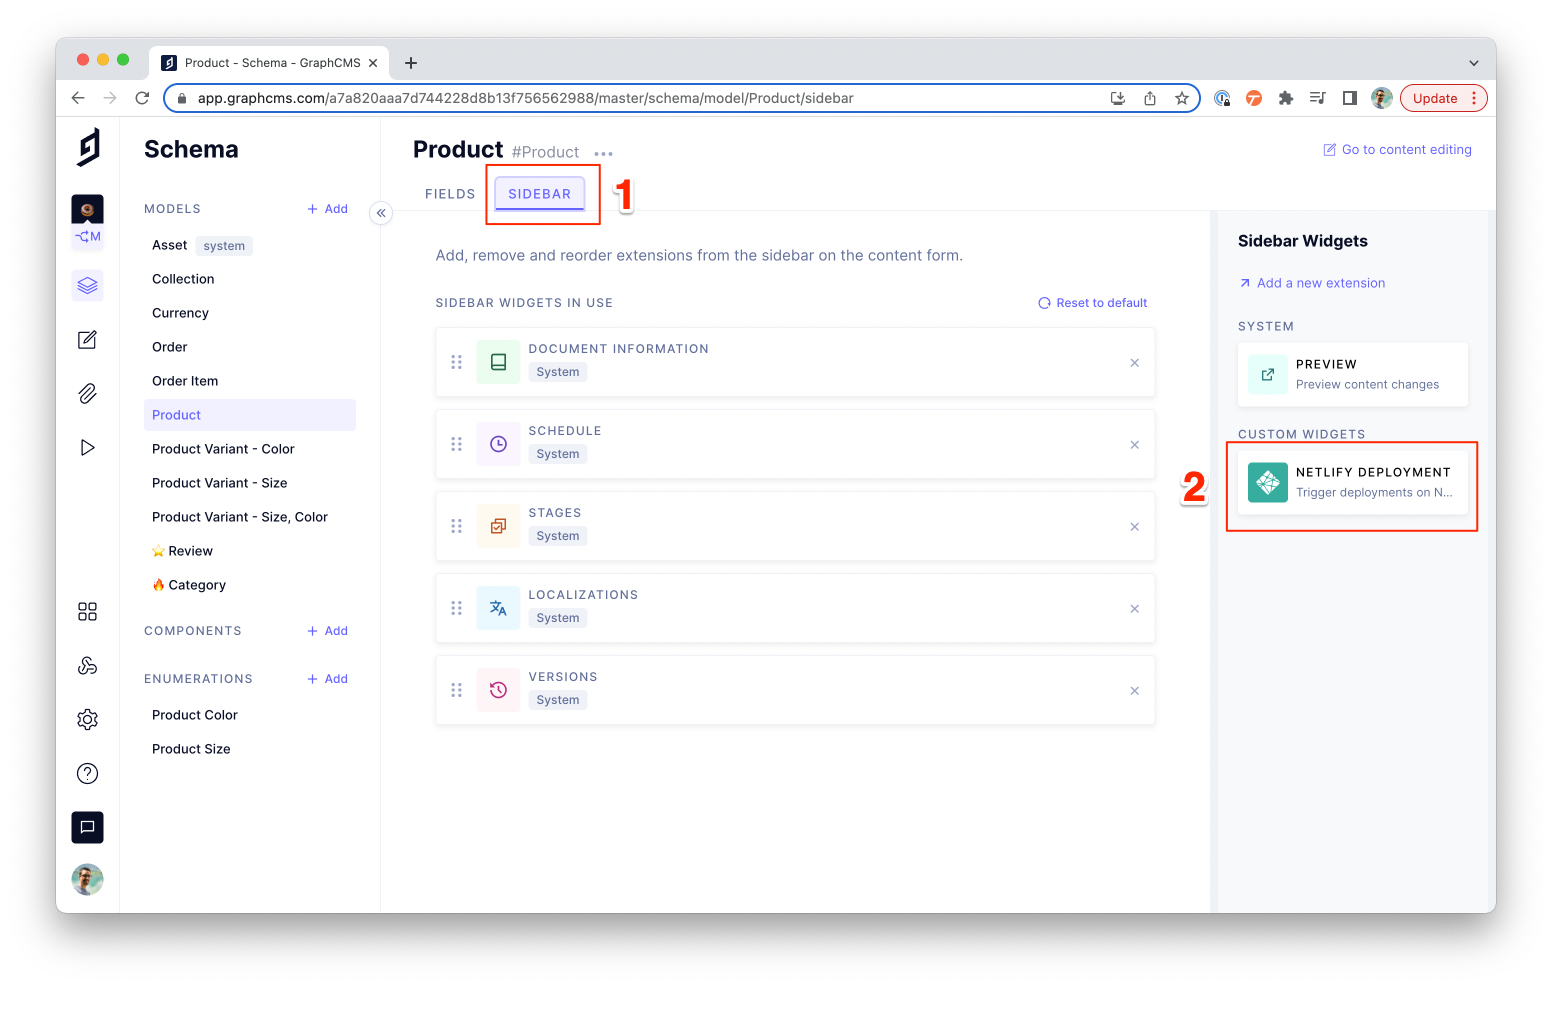
Step 7) Adding Netlify sidebar widgetAnchor
Click on the Sidebar tab. Then, click on Netlify Deployment to add the widget to the sidebar.
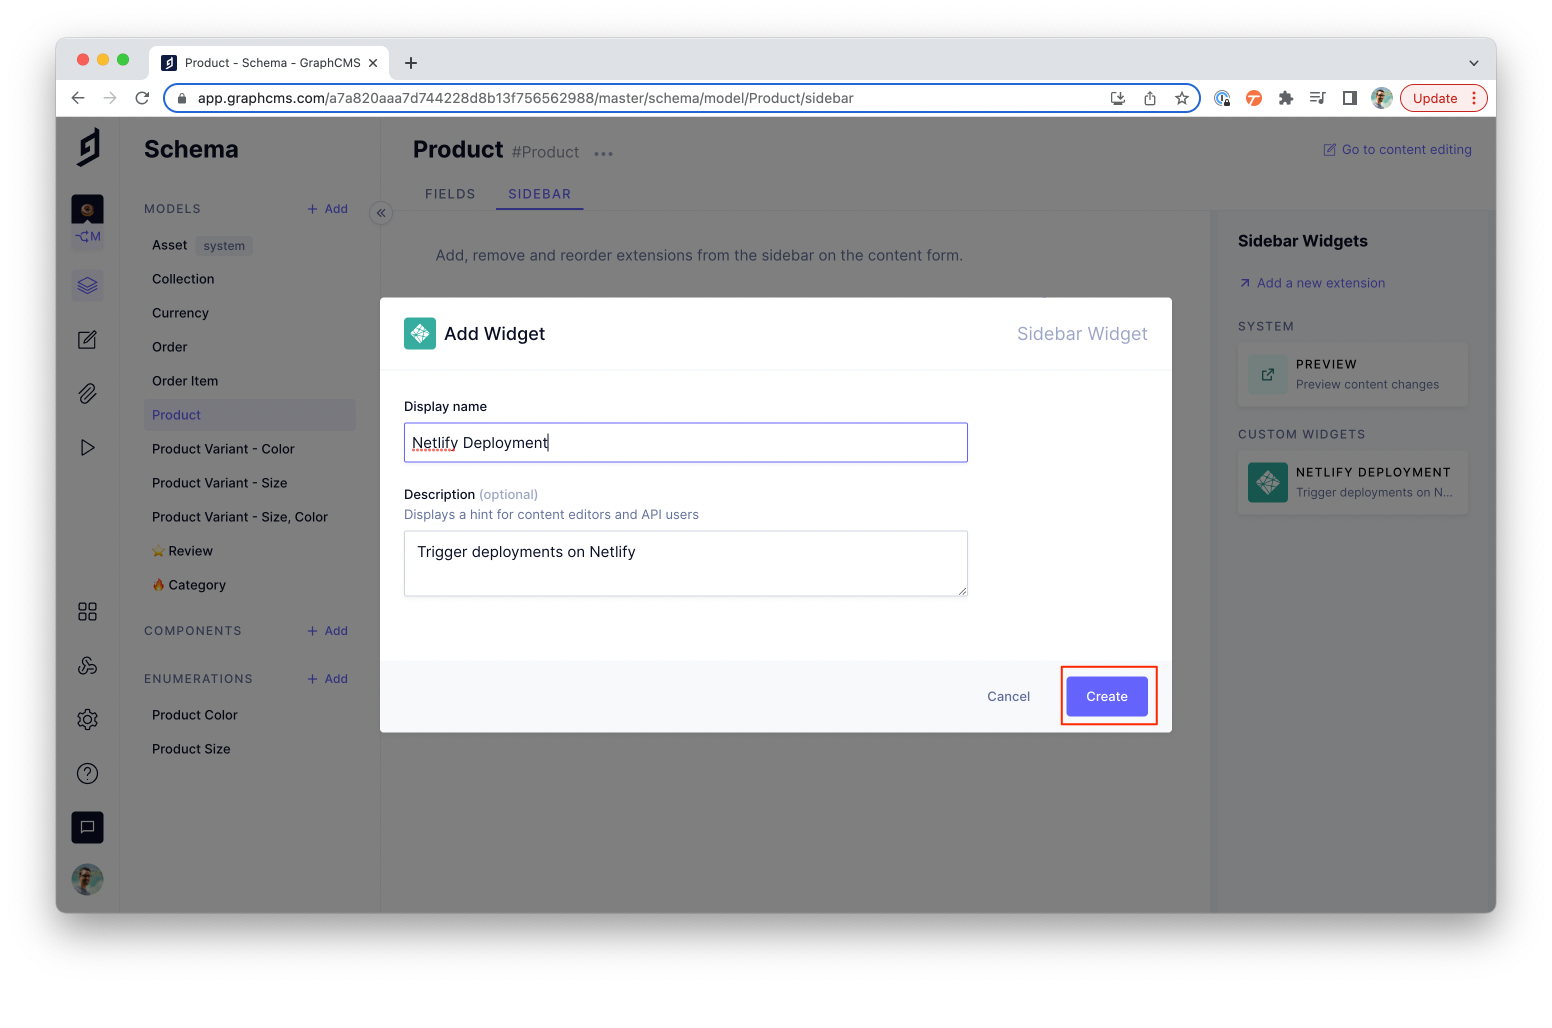
Step 8) Customizing sidebar widgetAnchor
You can change the widget Display Name and Description if you want. Otherwise, click on Create.
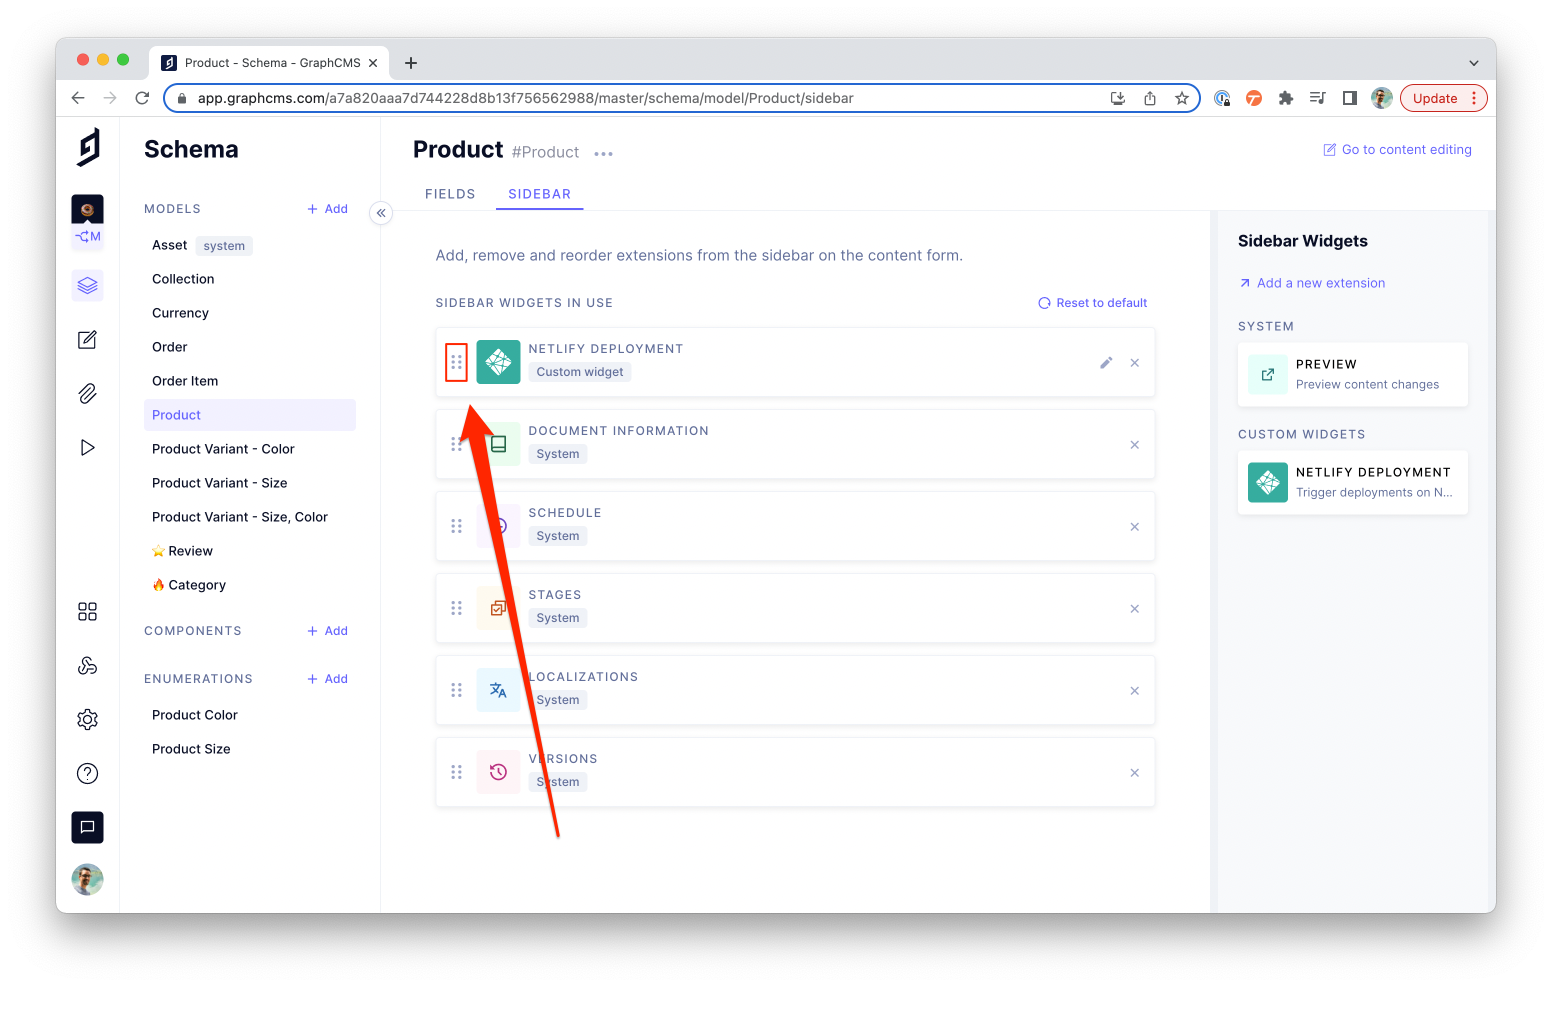
Step 9) Reordering widgetAnchor
Click and hold the six-dotted handle and drag the widget to the position you want to display in the sidebar.
How to trigger a deploy on NetlifyAnchor
Step 1) Go to content viewAnchor
Go to the content editing section. You can do that by clicking on the left-side navigation or the "Go to content editing" link in the top-right corner.

Step 2) Go to model content viewAnchor
Under the views section, select the model you added the widget in the previous step. Then, click on the Edit button to open an existing entry. You can also create a new Entry.
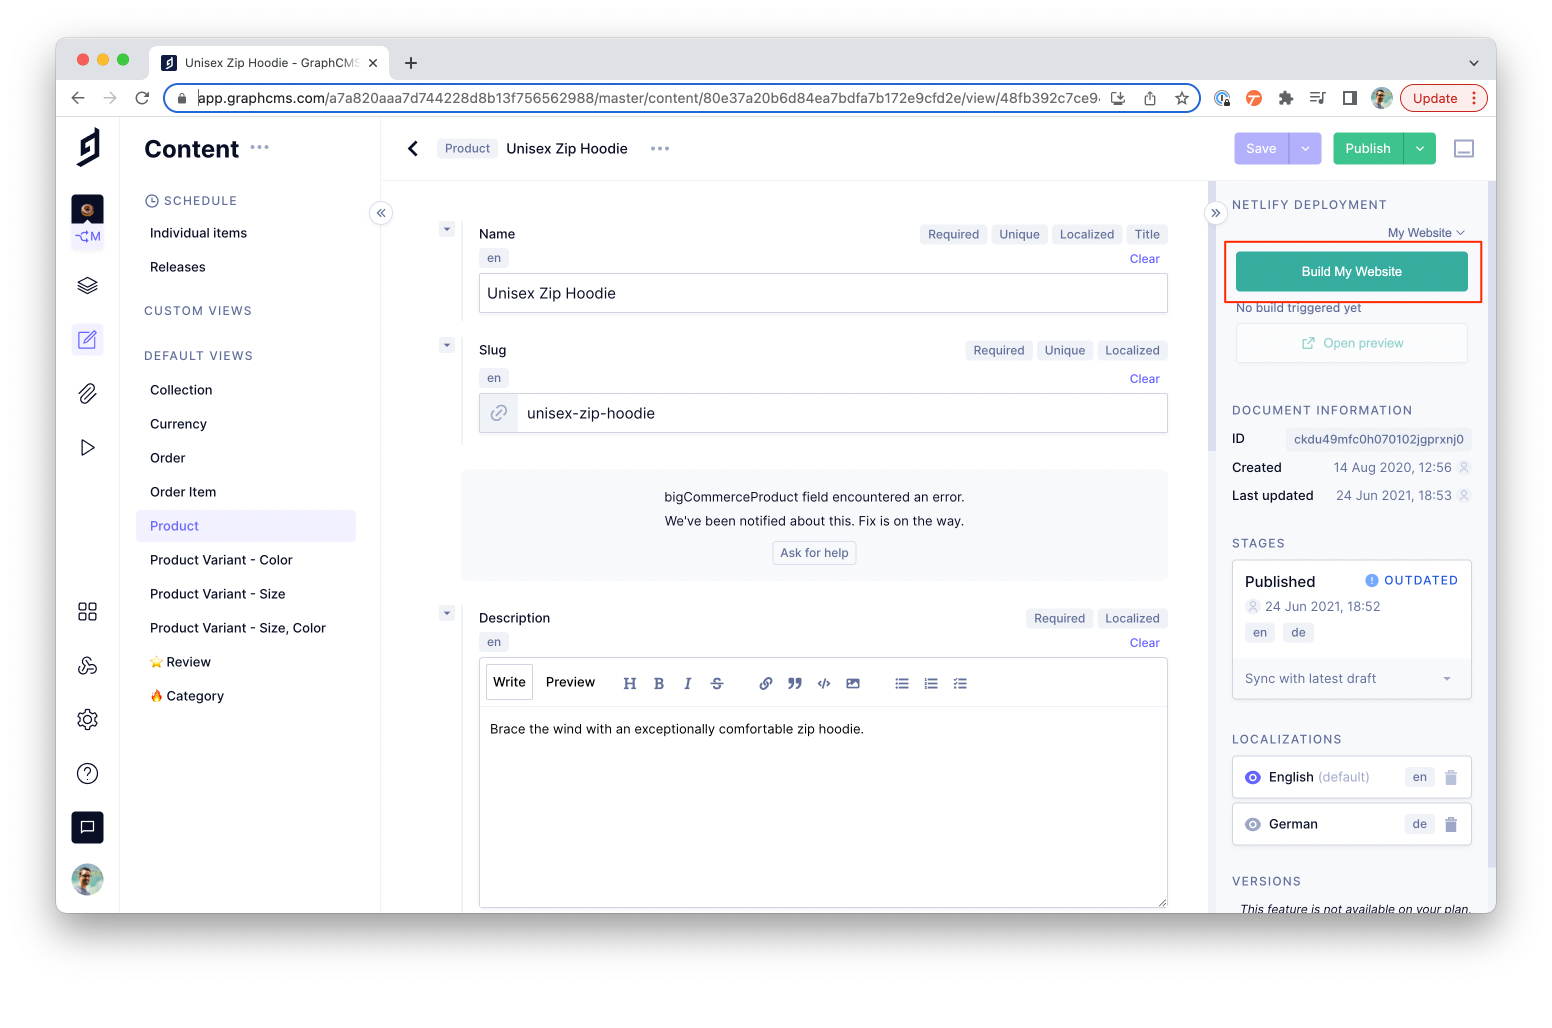
Step 3) Triggering deployAnchor
On the sidebar, you should see Netlify deploy button. Click on it to trigger a new build.