API access
OverviewAnchor
Navigate to Project settings > Access > API Access to find your Project API access settings with endpoints, public content API permissions, and permanent auth tokens.
EndpointsAnchor
This section contains the URL endpoints of your environments.
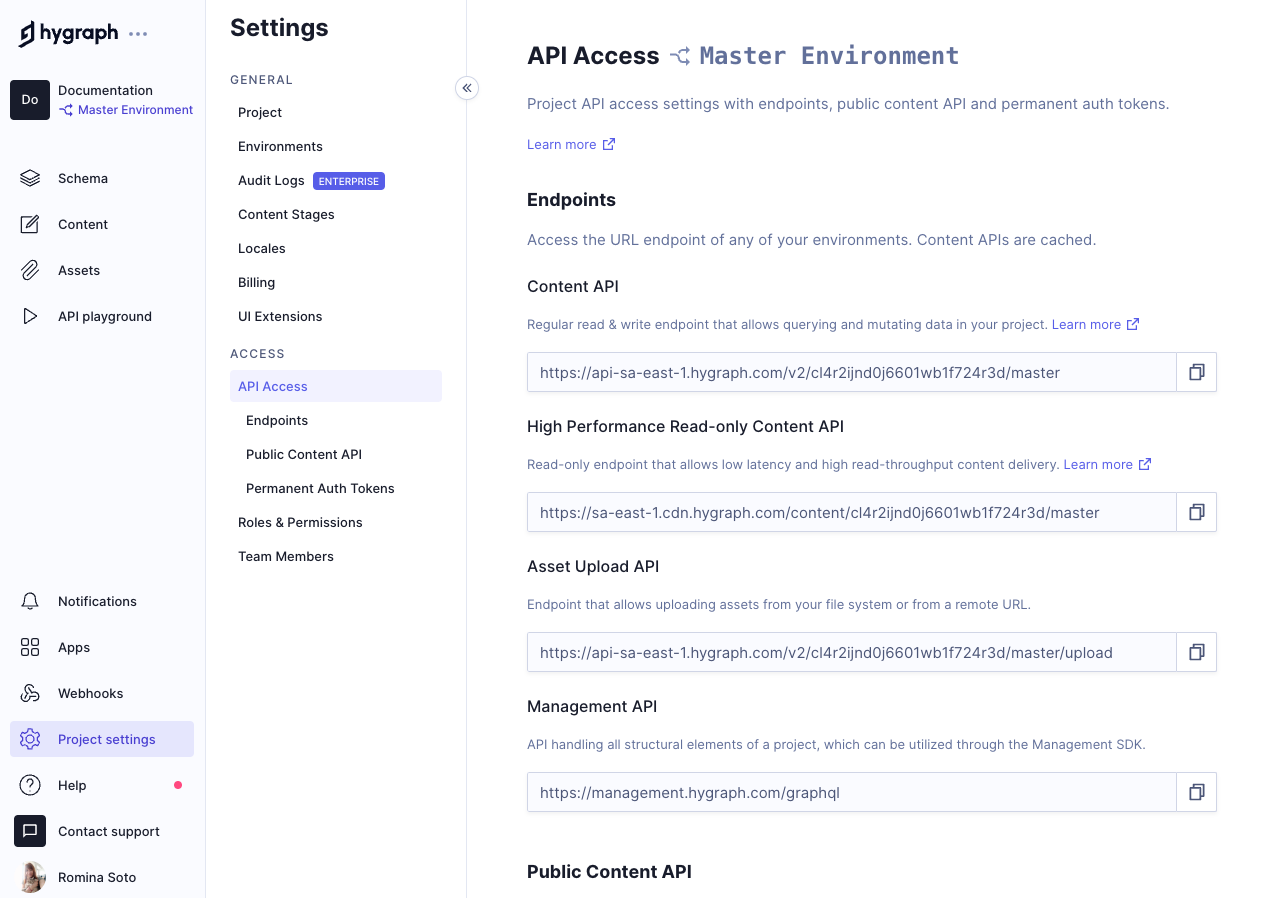
| Endpoint | Description |
|---|---|
| Content API | Regular read & write endpoint that allows querying and mutating data in your project. |
| High Performance Read-only Content API | Read-only endpoint that allows low latency and high read-throughput content delivery. |
| Asset Upload API | Endpoint that allows uploading assets from your file system or from a remote URL. |
| Management API | API handling all structural elements of a project, which can be utilized through the Management SDK. |
Simply click on the URL you want to copy. A message will pop up on the lower right corner of your screen, letting you know the URL has been copied to clipboard.
Public content APIAnchor
Here you can configure public Content API access permissions for unauthenticated requests.
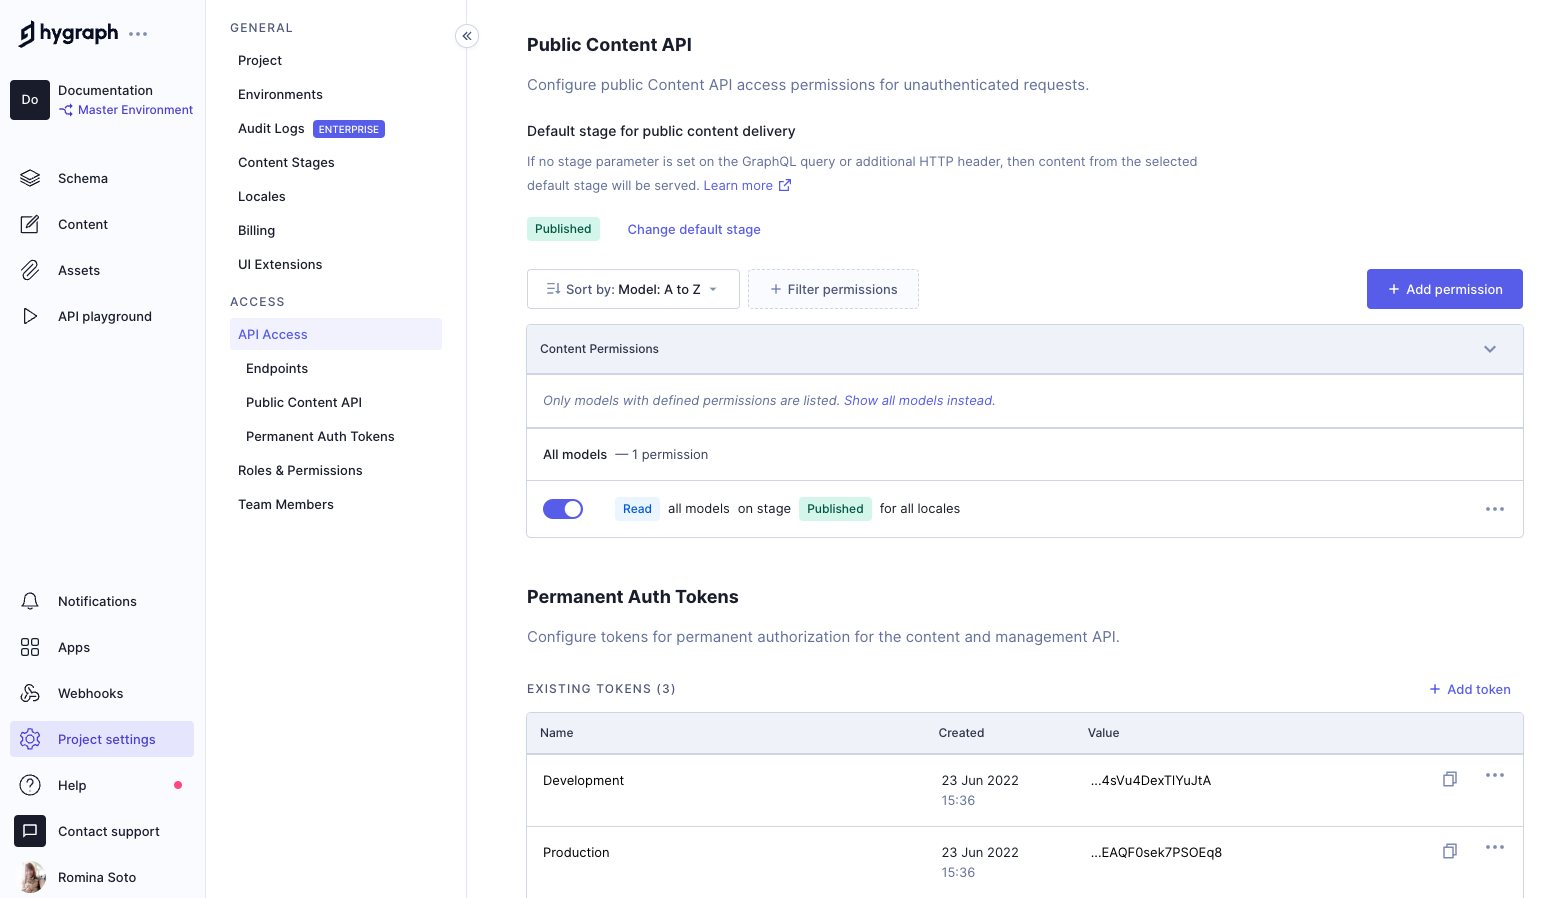
Default stage for public content deliveryAnchor
This section shows the default stage for public content delivery. If no stage parameter is set on the GraphQL query or additional HTTP header, then content from the selected default stage will be served. You can learn more about this in our Default public stage documentation.
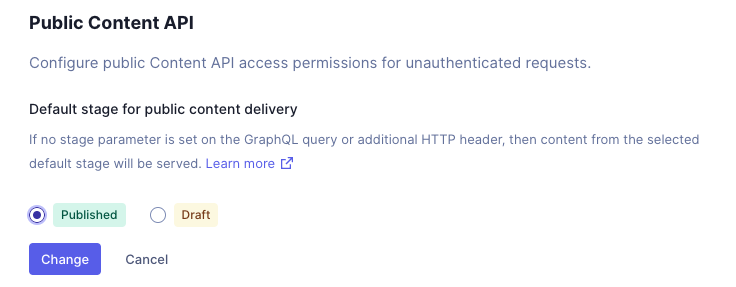
To change the defaul change, click on Change default stage next to the stage tag, select one of the available stages, then click on Change to save.
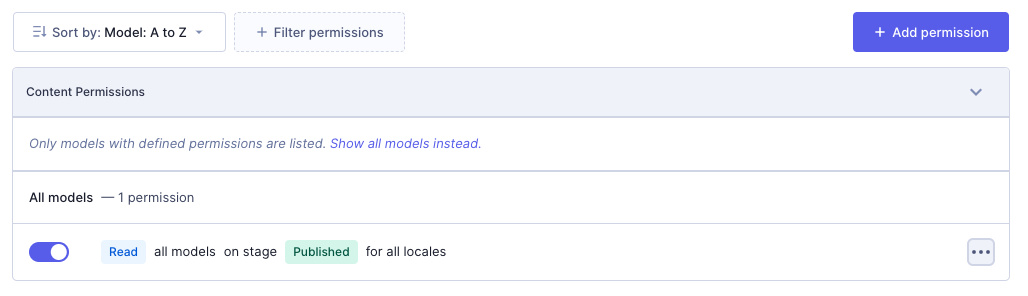
Content permissionsAnchor
On this screen section you can view, edit, and delete existing content permissions, as well as add new ones.
Our document on Permissions contains more information on how they work.
Sort permissionsAnchor
Use the Sort by dropdown menu at the top of the permissions table to sort models and actions. You can choose to sort them in ascending or descending alphabetical order.

Filter permissionsAnchor
Click on + Filter permissions to access the following options:
| Filter | What it does |
|---|---|
| Filter by actions | Click on this option to then be able to select one of the permission actions listed in the table to filter by. |
| Filter by models | Click on this option to then be able to select one of the models in your schema to filter by. |
| Filter by locales | Click on this option to then be able to select one of the locales configured in your project to filter by. |
| Filter by stages | Click on this option to then be able to select one of the stages configured in your project to filter by. |
Add permissionsAnchor
To add a permission please click on + Add permission at the top right of the permissions table, then follow the Add content permissions flow.
Edit permissionsAnchor
If a permission can be edited, you will find this option in the context menu to the left of the permissions table.
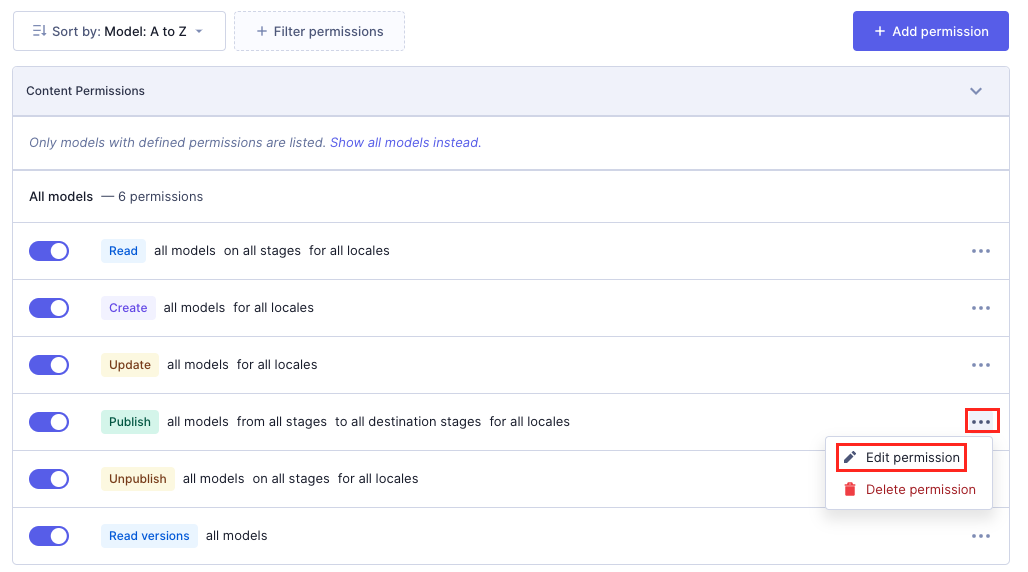
A popup will give you the option to update the permission by selecting a different locale or stage.
Delete permissionsAnchor
Find the option to delete a permission in the context menu to the left of the permissions table.
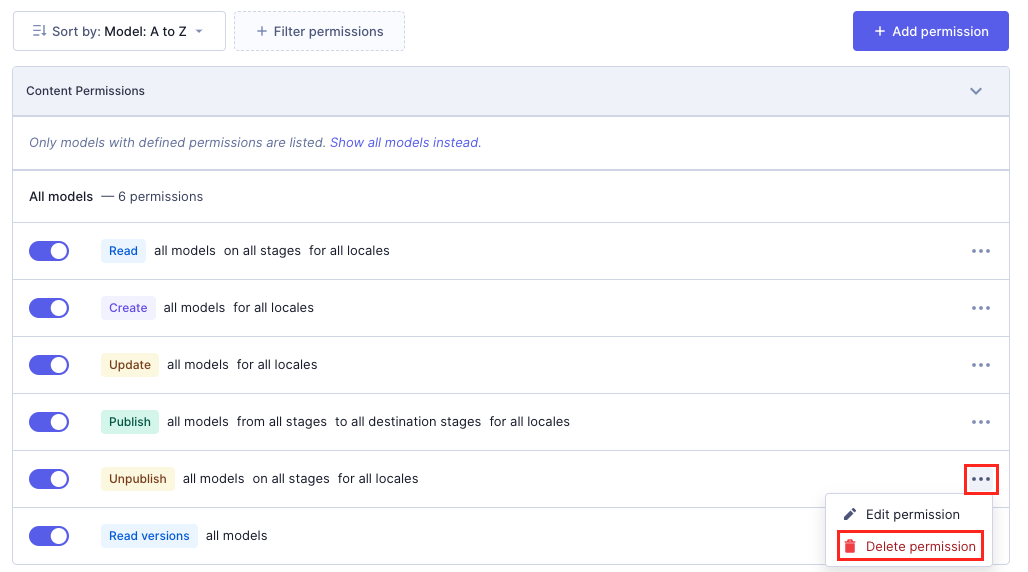
As deletions are permanent actions that can't be rolled back, a popup will display informing you of this and you will need to confirm the deletion by clicking on Delete.
Permanent Auth TokensAnchor
Here you can configure tokens for permanent authorization for the content and management API.
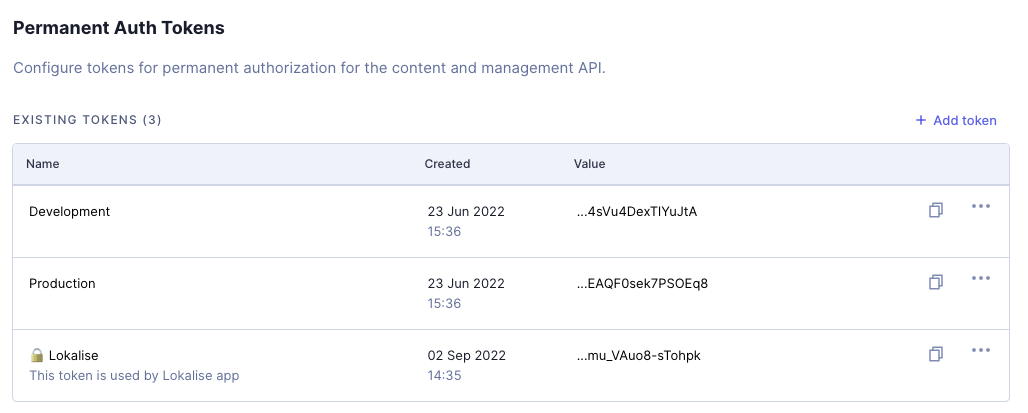
Permanent Auth Tokens (PATs) are used for controlling access to querying, mutating content, and come in the form of Bearer token authentication.
The list displays all existing tokens related to your project. To copy a token, click on the copy icon at the right of the existing tokens table.
Access our documentation on Authorization to learn more about permanent auth tokens.
Add tokensAnchor
To add a token, click on + Add token at the top of the tokens table. The following screen displays as a result:
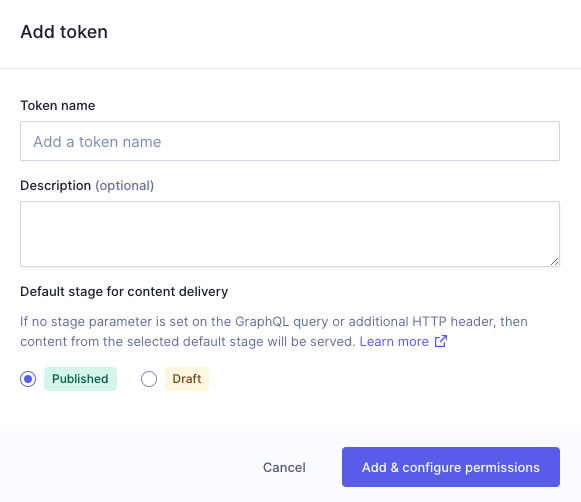
Write a name for your token and, optionally a description. Use the radio buttons to select a default stage for content delivery, then click on Add & configure permissions to continue.
Your token details screen will display:
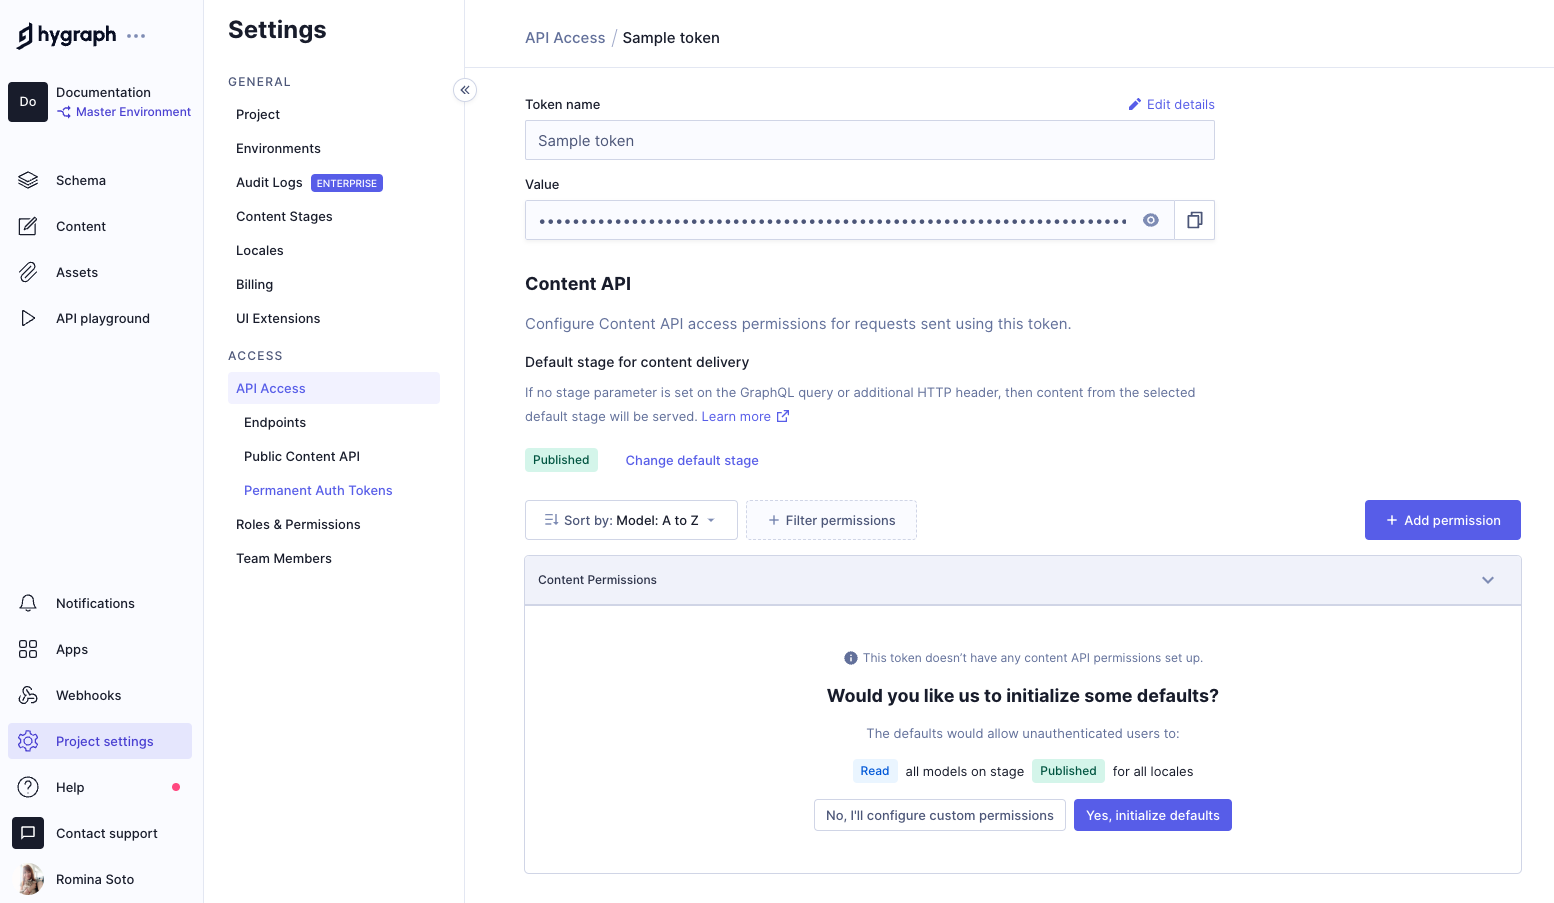
On this screen, you can:
- Configure content API access: You can initialize default permissions or create your own custom ones. The flow for adding content permissions to a token is the same as when giving content permissions to a custom role.
- Configure Management API permissions: You can use the buttons to initialize defaults or create custom permissions. The creation of custom permissions follows this Edit permissions flow.
EditAnchor
Edit a token by selecting the Edit option in the context menu.
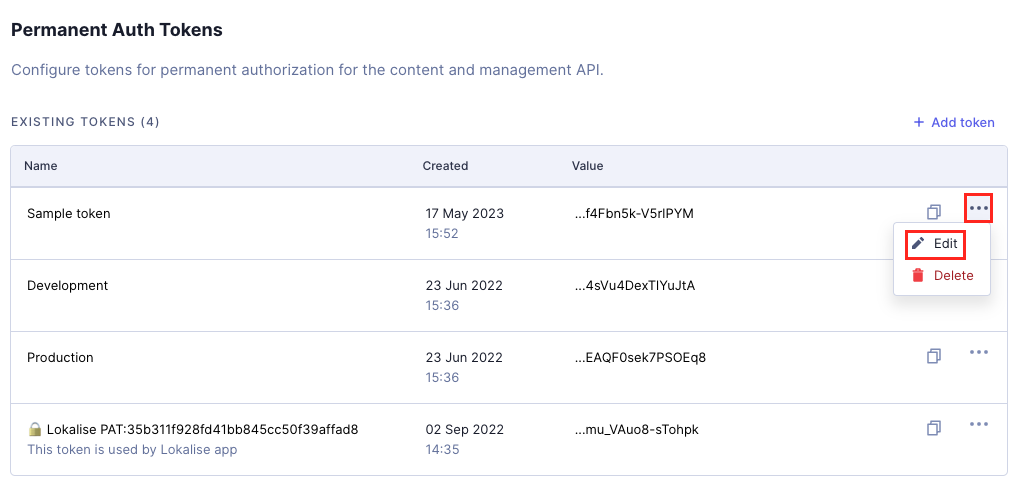
The token details screen will display, where you can add new permissions associated to the token or edit existing ones, as shown in the previous document section.
Delete tokensAnchor
Delete a token by selecting the Delete option in the context menu.
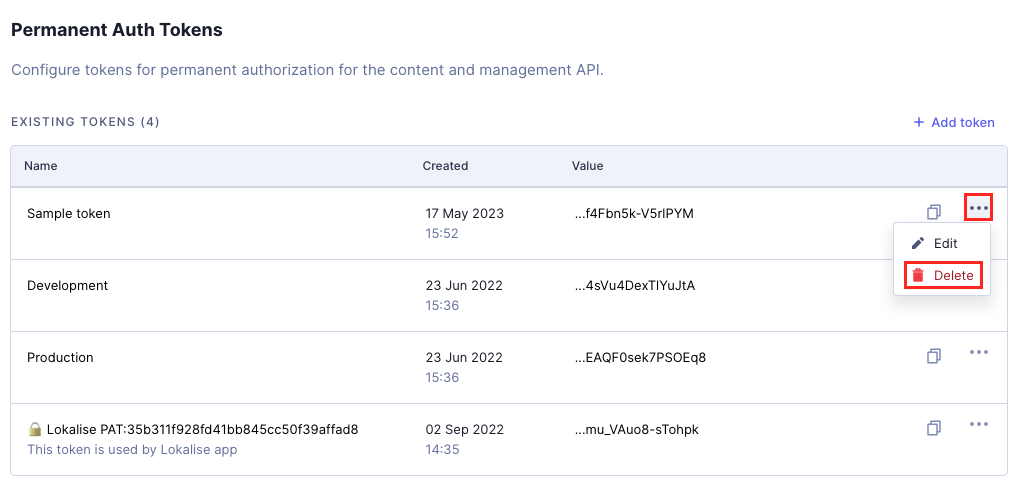
You can also find this option inside the token details view you access when editing.
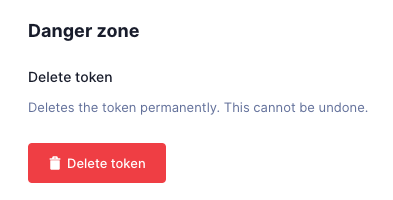
Since deleting a token is a permanent action that cannot be rolled back, a popup will display notifying you of this, and you will have to click on Delete <token_name> to complete the process.
ResourcesAnchor
You might find the following documents useful:
- Permissions: This document contains information on permissions, how they work, and their limits.
- Roles and permissions: This document contains information on how to work with roles and permissions in the Hygraph app.
- Authorization: This document contains information on public API permissions, permanent auth tokens, and API endpoints.
